

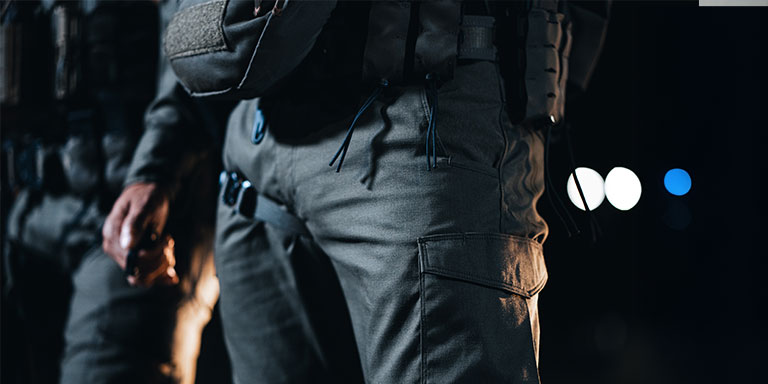
High-quality tactical pants that are well-suited to your profession are a good investment. Spend more up front and you're more likely to find that your pants last many years with proper care. But such care is also an investment of either time or money. Those costs should be factored into your original buying decision.
In this guide, we'll review proper care, maintenance, repair and storage of your tactical pants. For the most part, we'll assume that you're taking the DIY route, so we'll cover skills that aren't too difficult to learn.
Prevention is the Best Medicine
As with most things in life, the most effective and efficient way to maintain your tactical pants is to prevent major problems rather than repairing them after they've occurred. The best thing you can do for your pants is also the easiest: regular inspections. Set a recurring reminder or alarm for every six months (or more often, if your job is particularly rough on your clothes). Carefully inspect each pair of tactical pants, paying special attention to the seams, crotch, seat, knees, pockets, belt loops and any other area that has thinner fabric or sees frequent contact with other surfaces. Perform minor repairs on the spot and make note of any areas that are likely to need major repairs soon.
Proper washing and drying also goes a long way. Different materials require different soaps, wash cycles, water temperatures and/or drying methods. In some cases, these things don't make a huge difference. Most of us probably don't do much beyond washing our whites separately. Your tactical pants, though, might need more individual care, especially if you have multiple pairs made of different materials. In some cases, improper washing or drying can accelerate wear or cause additional damage, so it's best to follow the manufacturer's washing and drying directions exactly.
Minor DIY Repairs
Most of the repairs you'll need to do on a semi-regular basis are quick and easy, and the required materials are usually inexpensive.
Rotate your pants every shift so that every pair gets worn equally. This one's pretty obvious, but it's also easy to forget until you've made it a well-practiced habit. (Alternatively, you could take the opposite approach and wear one or two pairs exclusively until they give out and then move on to the next. This can work fine as long as you're sure that your other pairs will still fit several years from now.)
Use a match or lighter to burn off loose threads close to their origination points Cutting loose threads leaves the individual strands free, which means they're likely to cause additional loose threads or small tears in the future. When you burn the threads off, the heat fuses the loose ends together. This helps the repair last longer
Stitch small holes and replace missing buttons as needed. Craft and fabric stores carry basic sewing kits. These are inexpensive and should have everything you need for minor repairs. Buttons are a few cents each and most fabric stores will have identical or near-identical replacements for any button your pants might need. (We'll have some more specific sewing tips in the next section.)
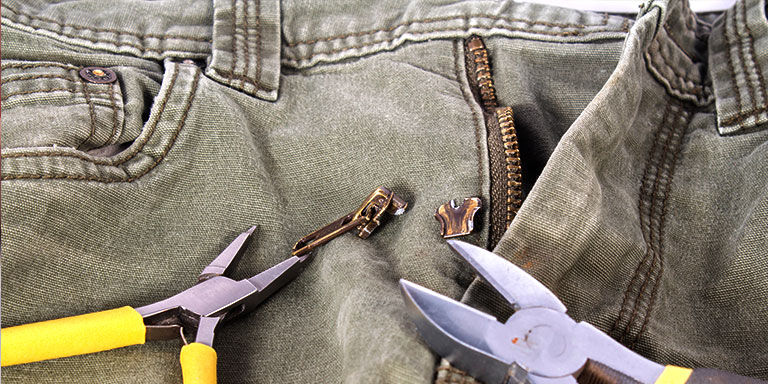
Replace broken zippers before they fail completely. Replacement zippers usually cost $10 or less as of 2025, but be sure to buy high-quality, well-made zippers from a long-established brand. Low-quality, knockoff zippers won't last very long.
Choose the right stain removal method based on the stain and on the material your pants are made of. Stain removal is its own science, and there's more to it than you may think. There are some good in-depth articles about stain removal out there, and it's worth spending a bit of time to find and read them. Here are our best general tips:
- Dish soap and warm water are usually best for oil-based stains like oil-based paint, grease or motor oil. Blot, but don't rub.
- Blood, sweat and other bodily fluids are usually removed most easily by enzymatic stain cleaners and/or cold water. Don't use hot water, though—it can make the stain worse instead of better. Time is of the essence in these cases. For the best results, treat the stain as soon as possible.
- For stains caused by heavily pigmented liquids like wine, ink or non-oil-based paint, you usually want hydrogen peroxide, isopropyl alcohol, club soda or vinegar—but be sure to test it on a small area first in case it discolors the fabric. You can mix any of these with baking soda to form a thick paste if the stain is especially stubborn. Spread the paste over the stained area and let it sit for 5–10 minutes before scrubbing, but don't let it sit any longer than that. If it doesn't work within ten minutes, then more time probably won't help, and the risk of discoloration increases with time.
- Bleach and lemon juice should be considered a last resort, and they should be used only on fabric that is white or very light in color. They will almost certainly discolor darker fabrics.
Major DIY repairs
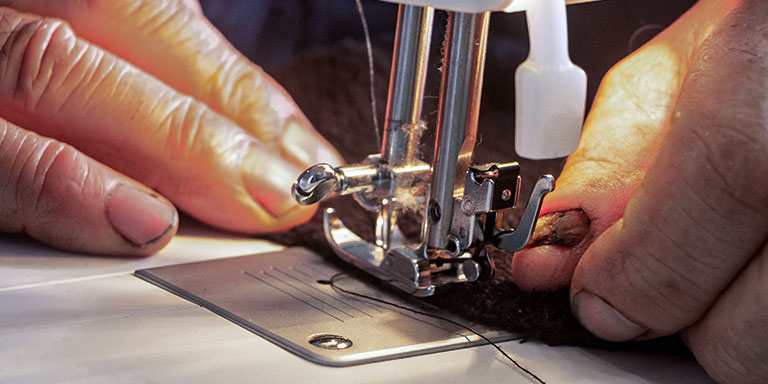
Some sewing jobs will require a sewing machine, especially if your pants are made of a thick fabric like canvas or super-heavy-duty nylon. Most repairs, though, can be done by hand. (It takes a fair bit of research and practice to learn how to use a sewing machine, so those repairs are beyond the scope of this article.)
Start by visually inspecting the loose threads and comparing them to the available options at the store to find a close match. Opt for thread labeled “extra strong” to ensure that the repaired area will be as tough as possible.
In the United States, sewing needles may be labeled in one of two ways. Some are labeled with a standardized American number ranging from 8 to 20. Others will include both a European and American size label with the European number first, such as 90/14. Because most tactical pants are made of heavy-duty fabric, you'll need a heavy-duty needle if you're stitching by hand. In most cases, a size 100/16 will be best. The package may also list the needle's diameter in millimeters; a size 16 needle is 1.1mm in diameter.
The needle you choose should also have an extra sharp point (to pierce the fabric easily without dragging or tearing) and a long, narrow eye (so the hole isn't made any wider than necessary when you pull the needle through).
If the edges of the hole can be pulled together easily and aren't excessively frayed or worn, then you can simply stitch the hole without a patch. The best stitches to use for clothing repairs are generally the backstitch, the casting stitch and the running stitch. Use a catch stitch for the last few stitches on each end of the rip; this will help “seal” the ends to prevent future tearing at those weakened areas.
You'll need a patch if the hole is too large or wide. As a general guideline, tears that are bigger than 1” at their widest point should be patched. Patches come in almost any color and fabric combination you can think of, so it shouldn't be hard to find a close match. The patching process is pretty simple. We recommend using both inner and outer patches. It takes longer, but the repair will be much stronger.
- Turn your pants inside out and lay them on a flat surface.
- Cut strips of ½” or 1” fusible material and set them into place around the tear to frame it completely.
- Choose an iron-on patch about 2” wider than the rip, place it on top of the fusible material and iron the patch on
- Let the inner patch cool completely, then carefully turn your pants right-side out again
- Choose an outer patch the same size as the inner patch and line them up with one another
- Use a loop stitch to secure the corners of the outer patch loosely in place, then use a loop or blanket stitch all the way around the edges to secure both patches to the pants and to one another. Check the alignment of the two patches every few stitches and make small adjustments as needed.
- When you're done, use a lighter to burn away any loose threads.
Caring for Your Tactical Pants in the Field
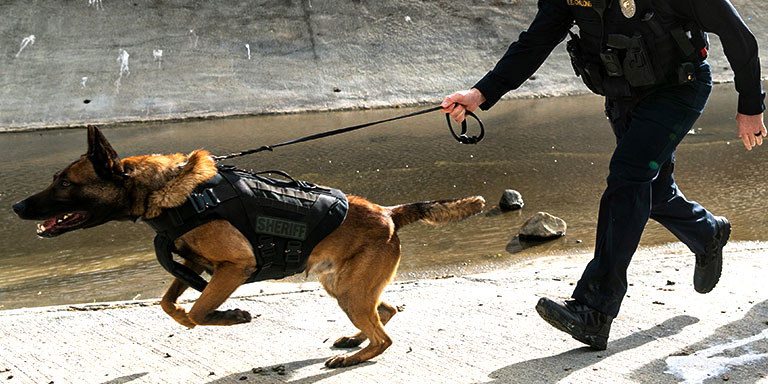
There isn't much you can do to clean or repair your tactical pants in the middle of a mission or shift, but there are a few basic preventative steps you can take.
- Choose pants made of materials well-suited to the conditions you're likely to encounter in the field. For example, a patrol officer in a remote area of New England will have to deal with a lot of mud in the spring, so a mud-resistant fabric like nylon would be a good choice.
- If your pants get dirty on duty, brush away the dirt with a stuff cleaning brush at the first opportunity. You can use a damp cloth if necessary but try dry brushing first.
- Always keep a backup uniform in your vehicle or locker. If your duty pants get soaked or heavily stained, wash or dry them out as soon as possible and change into your backup pair.
Storing Your Tactical Pants
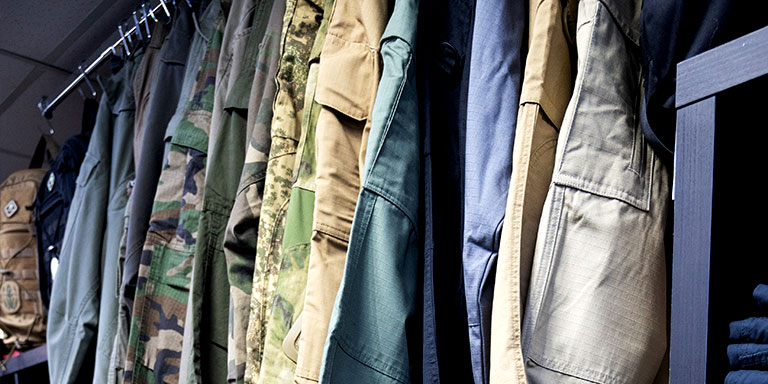
Tactical pants you don't plan on wearing in the next six months should be stored the same way you store most other items of clothing.
- Remove all items from the pockets. Also remove knee pads and any other accessories that aren't permanently attached. Heavy or sharp items in the pockets will stretch or tear the fabric over time.
- Hanging is better than folding. If you must fold your pants for storage in a drawer or box, take care to fold them neatly along the seat and knees; folding the pants in places they don't normally bend could cause minor damage in those areas.
- Store your pants in a cool, dry place, out of direct light if possible. Dry cleaner bags can help keep your pants dust-free. (You'd be surprised how dusty clothes can get in your closet if you don't wear them for a while, and heavy dust is a pain to remove.)
For most of us, high-quality tactical pants are a substantial financial investment. Doing your own maintenance and repairs can save you thousands of dollars in the long run. We hope that this guide helps you keep your pants in tip-top shape for many years to come.