

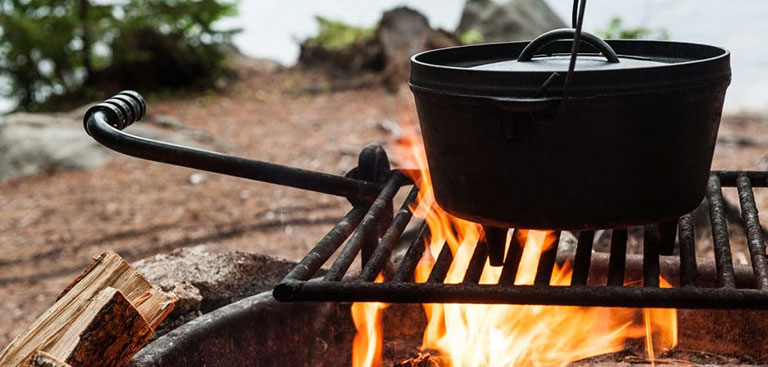
In the outdoors, there isn't much that raises spirits higher than a warm fire and a hot meal. Knowing how to cook over an open fire, you'll get the benefit of both. With a little practice and some basic equipment, you can prepare nutritious meals that taste like they came from a fully-stocked kitchen. In this guide, we'll show you how to build a cooking fire and review some basic food preparation techniques to help you get started.
Tools of the Trade
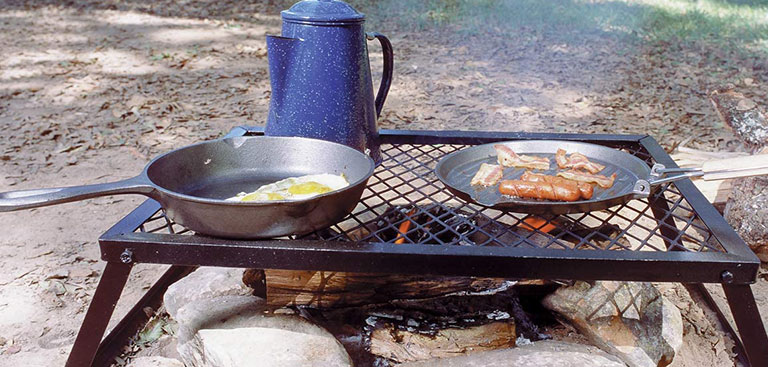
With a few (mostly) inexpensive tools, you can cook just about anything.
- A high-quality cast-iron skillet is probably the most expensive item you'll use for cooking over an open fire, but it's an excellent investment as long as you can bear the cost (and the weight). If you can't, don't worry; cast iron isn't absolutely essential for outdoor cooking.
- A basic cooking pot with a bail handle is an essential part of your cooking kit. These are typically made from aluminum, stainless steel or extremely lightweight titanium.
- Aluminum foil is cheap, lightweight and great for a variety of cooking techniques.
- You'll need at least one sharp knife to prepare meat and some vegetables.
- Skewers and sticks are indispensable outdoor cooking tools. With some patience and creativity, you can cook hundreds of dishes with just these simple tools.
- A bit of twine will help keep food in place while it's cooking on a spit or a skewer.
Firecraft for Outdoor Chefs
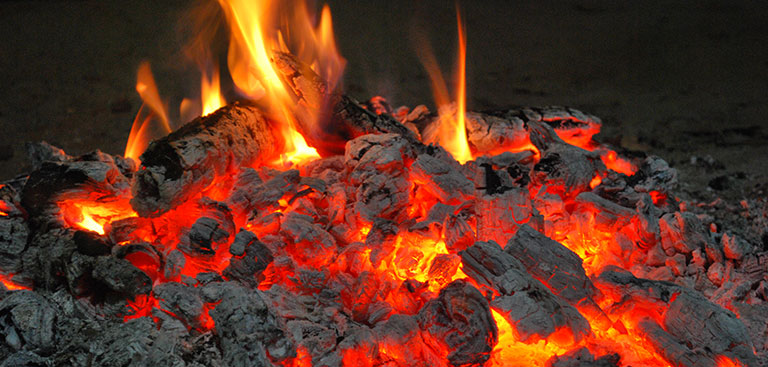
Once you have your basic tools in order, the next step is to build the right kind of fire. Not all fires are created equal; some are much better than others for cooking. Make sure you read our guide to basic firecraft for a more detailed look at how to build a fire.
Depending on the method, it's technically possible to start cooking as soon as you have your fire lit, but you'll keep more knuckle hair and get better results by waiting until you have a nice bed of coals from a fully established fire. Spread out the coals to achieve a consistent and even heat across the entire cooking area. Famous survivalist and outdoorsman Dave Canterbury wrote "Fires are for warmth, and coal beds are for cooking".
Cooking with coals also produces less black soot, so you'll have an easier time cleaning up. A little planning goes a long way in making your outdoor cooking experience a success. Start your fire at least an hour before you plan to cook.
Cooking Methods
There are many ways to cook delicious food outdoors. If you master these five basic techniques, you'll be able to whip up a wide range of recipes.
Cast Iron Skillets
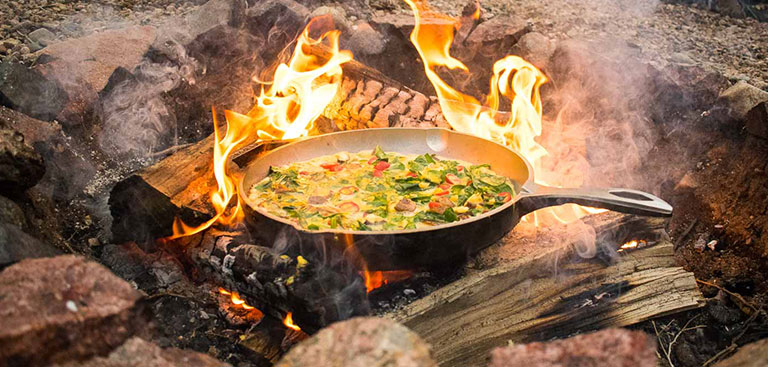
Cast iron skillets are perfect for foods that cook best over high heat for a short duration, like eggs or most meats and vegetables that you want to stay crispy. Skillets heat up slowly and unevenly, but once they're hot, they stay hot for a long time. Be sure to place your cast iron in the center of your fire, just a few inches above the flames, to ensure it heats evenly.
Foods high in fat or oils are ideal candidates for an iron skillet. Over time, cast iron becomes "seasoned," which means that the oils left behind from cooking become chemically bonded to the metal. This enhances the flavor of food cooked in the pan and helps protect it from dirt and rust.
When cooking with high heat, be sure to stir or rotate the food often to heat it evenly and prevent it from burning or sticking. If you like your meat seared but rare or medium on the inside, don't be afraid to put the pan directly in the flames; just make sure you preheat it first for about twenty minutes. Cast iron takes a while to get hot, so if you start cooking on a cold skillet, you're more likely to undercook or overcook your food.
Cast iron can also be used for stews or anything else that needs to simmer for a while — just place the pan farther from the heat and stir it every so often. Well-seasoned cast iron isn't as slick as Teflon, but it's still fairly nonstick. Avoid simmering tomatoes or other acidic foods often or for long periods; over time, these can eat away at the pan's precious layer of seasoning.
Caring for cast iron takes a bit of work (and more so in the wilderness), but it's not too bad. To clean it, scrub out any large bits of food while the pan is still hot, then use some good old-fashioned elbow grease and water once it's cooled. Soap isn't necessary; in fact, it may erode the seasoning over time. Once your pan is clean, heat it up for a few minutes, then apply a thin, even coat of vegetable oil or animal fat and let it cool again. If you don't have any oil or fat, that's okay — just make sure the pan is completely dry before you put it away, as iron is highly susceptible to rust.
Bush Pots
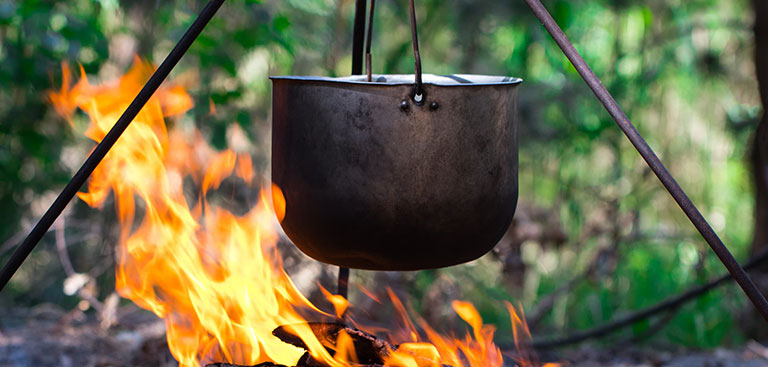
A simple bush pot is an essential part of any outdoor cooking kit. Typically 1-2 quarts, these pots come in stainless steel, aluminum or titanium. Each material has its own strengths and weaknesses.
- Stainless steel is incredibly durable, easy to clean and distributes heat evenly. However, it's also the heaviest of the three and not ideal for long-distance trips.
- Titanium is ultra-light (and ultra-expensive), but terrible at distributing heat. If you only use your bush pot for heating liquids, though, titanium is great. Just be weary that anything that can burn will burn using a titanium pot.
- Aluminium pots strike a great balance on heat distribution, weight and cost. If you go with anodized aluminum, you'll also have an easier time cleaning your pot.
There are a few basic methods for suspending a bush pot over a fire. In order to utilize these options, select a pot with a bail handle, or construct one out of heavy gauge wire for hanging over the fire.
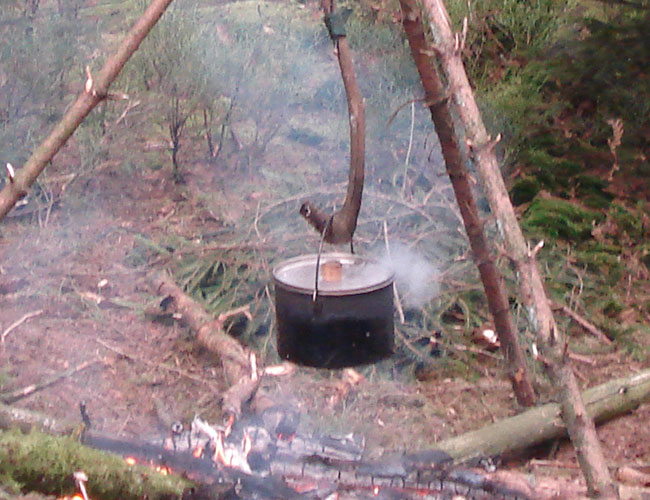
Tripods
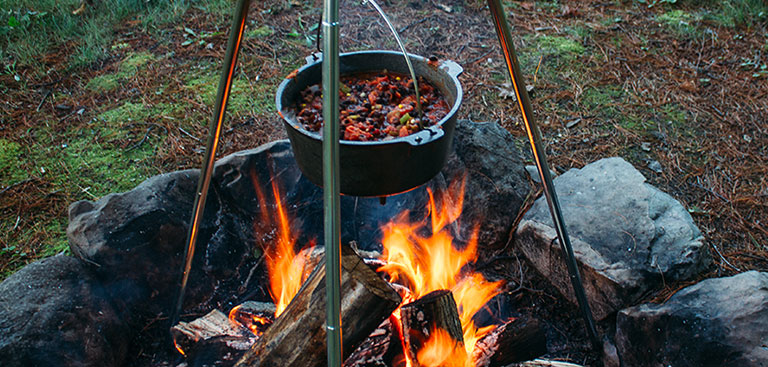
Tripods are typically constructed by lashing three equally sized sticks together. Leave extra cordage when lashing a tripod so you can still hang your pot.
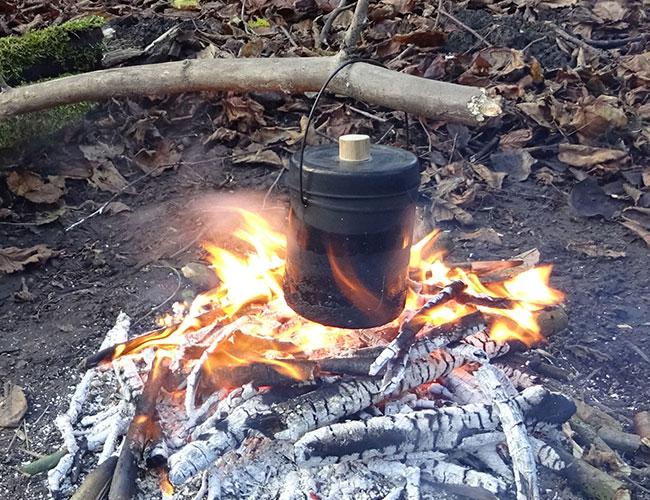
Pot Cranes
The simplest version of a crane is just a long branch propped up on the end nearest the fire so it extends over the heat. Ensure the other end is weighted or otherwise secured to counterbalance the weight of the pot.
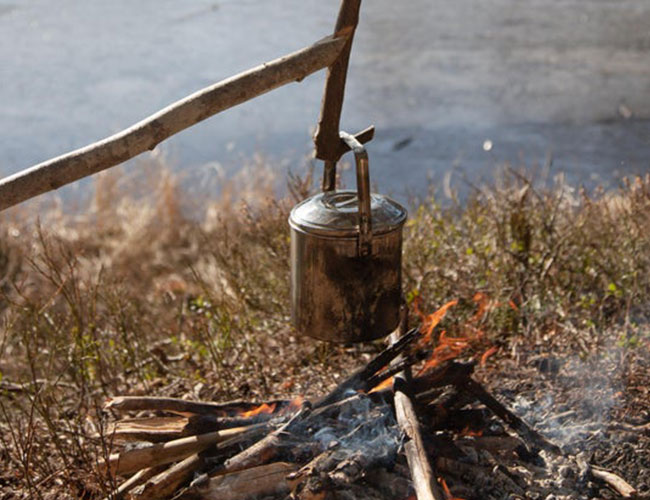
Pot Hangers
Pot hangers are constructed by carving multiple notches in a length of wood, or utilizing the wood's naturally occurring branches to form hooks. Placed every few inches, these notches allow you simply to move a pot up or down the hanger stick to the desired height for cooking.
Spit Roasting
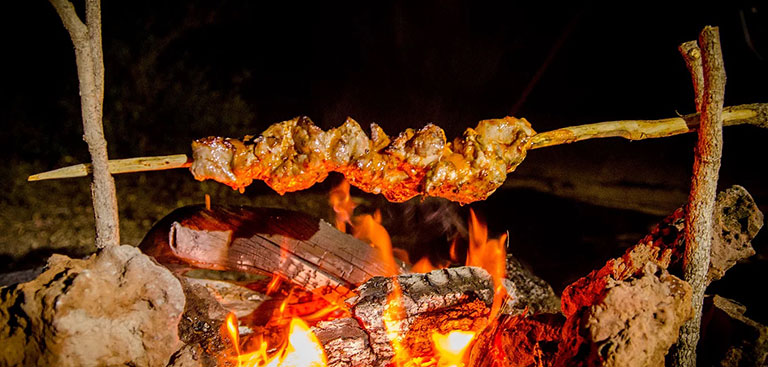
For large animals or maximum flavor, spit roasting is the gold standard. A spit roaster is a simple stick or rod driven through the meat and suspended over a fire. It takes hours to properly spit roast anything bigger than a rabbit, but it's well worth the wait. The slow, even heat cooks the meat thoroughly without drying it out and gives seasonings plenty of time to work their magic.
To build a spit roast, simply find or carve a relatively straight stick that's thick enough to support the weight of the meat and long enough to allow about two feet of clearance on either side of the fire. Sharpen one end and spear it through the center of the meat.
You can support the spit on forked sticks driven into the ground, or even on strings suspended from an overhead tree branch. The meat should be two to five feet above the fire. You'll get a crispier skin if it's closer to the flames, but the meat closer to the surface may dry out and the center may not cook fully. Rotate the spit more frequently to help counter both problems.
Positioning the meat farther from the fire will allow it to cook more slowly and evenly, thereby retaining more moisture, but the skin won't get as crispy. To get the best of both worlds, cook the meat farther from the fire until it's nearly done, then finish it off closer to the flames.
If any part of your spit roast is built with wood or string (or anything flammable), you'll need to mist those parts with water frequently so they don't catch on fire while cooking. The closer they are to the flames, the more often you'll have to sprinkle them.
Steaming in Foil
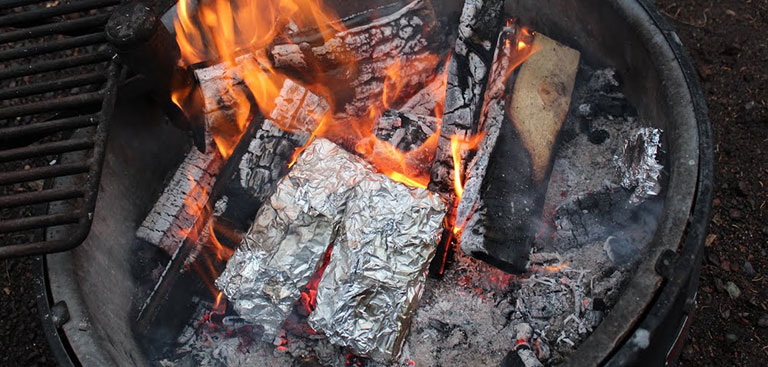
Steaming is super easy and works especially well for fish meat because it has a high water content. Loosely wrap the prepared meat in one to three layers of aluminum foil and place it directly on the coals at the edge of your fire. More layers of foil will cook the fish more slowly, resulting in juicier meat with a more even texture. Fewer layers of foil will make the outside of the fish crispier, which some people prefer. You can also steam corn, squash and other high-moisture vegetables using the same method. Vegetables cook faster than meat, so don't leave them on the coals too long.
Disposable aluminum roasting pans also work great when preparing meals for a large group. This method works best when you can position the roasting pan directly above (but not on) the fire, utilizing stones or a metal grate.
Skewers and Ponassing
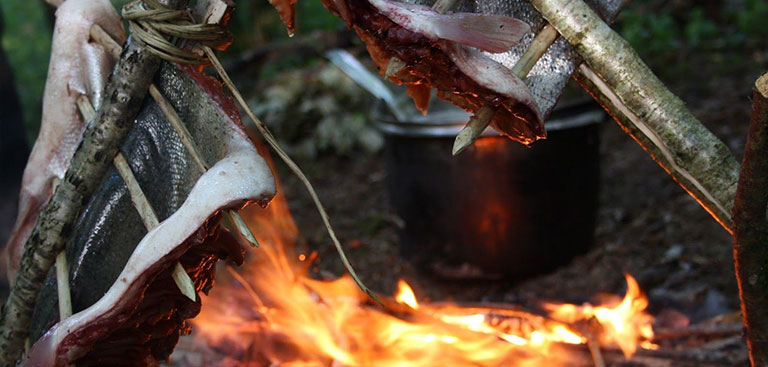
A skewer is just a handheld spit, good for quickly cooking small portions of meat or vegetables. Ponassing is a related technique used for meat that is too thin or oddly shaped for a skewer. It's generally used for fish (other kinds of meat are usually too thick).
To ponass meat, you'll need a stick about three feet long, a sharp knife or saw, and some twine. Sharpen one end of the stick and peel the bark from the other end, then split that end in half. The split should be a few inches longer than the meat. Flatten the meat into a thin filet and run a few small skewers through it widthwise to help keep its shape, secure it with twine and you're ready to cook.
Drive the sharpened end of the stick into the ground next to the fire at about a fifteen degree angle so the meat is about a foot above the fire's edge (the edge of the fire isn't as hot as the center). Apply a light coat of sauce or seasonings when the meat is about halfway cooked, then again when it's nearly finished.
General Outdoor Cooking Tips
Even if you're not much of a cook, the basics are pretty easy. Keep these few simple tips in mind and your campfire meals will turn out much better.
How far from the fire should the food be?
Keeping a fire at a consistent temperature can be a challenge, so you may need to adjust the height of the food you're making during the cooking process. The "hand test" can provide a good starting point in determining where to place your food. Place your hand (palm down) where you'd like to check the temperature. If the heat causes you to pull back immediately, you have a very hot fire. If you can count to three, it's roughly three hundred degrees. Use the chart below for reference.
| Time You Can Keep Your Hand Over the Fire | BBQ Grill Setting | Approximate Temperature |
|---|---|---|
| Less than 1 second | Very hot | Over 600°F |
| 1 second | Hot | 500°F |
| 2 seconds | Medium | 400°F |
| 3 seconds | Medium low | 300°F |
How do you know when meat is done cooking?
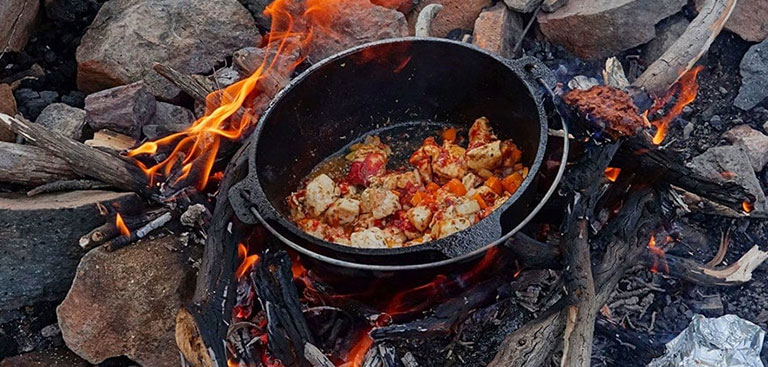
Barring a meat thermometer, the best way to gauge meat's doneness is by checking the color of the meat itself and its juices. Poultry and pork should be white all the way through, and the liquid should be clear. Fish should be moist, but not excessively so, and the meat should have a slightly springy texture. When roasting with skewers or ponassing, fish can quite literally fall off the stick when it's done (so stop just before then). Red meat doesn't necessarily need to be well done, but if you like it that way, look for clear juices and light brown meat in the center.
When in doubt, always err on the side of undercooking your meat. You can always cook it a little longer if you discover it's not done, but once it's overcooked, there's no fixing it.
What's the best way to roast vegetables?
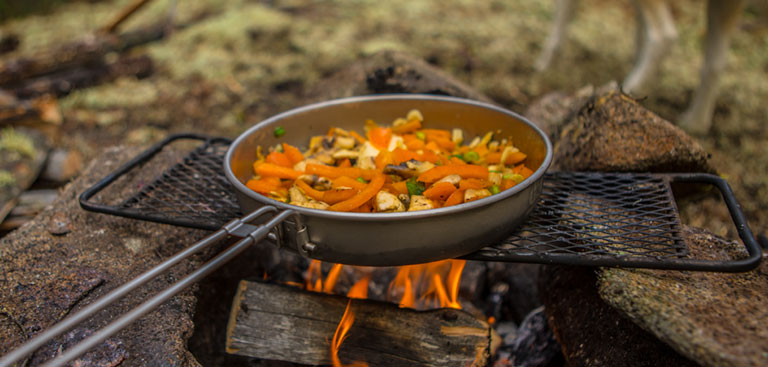
The most common mistake people make with vegetables is overcooking them. Most vegetables need to cook for only a few minutes over high heat. If you're steaming them in a cast iron skillet or foil pouch, sprinkle a little water over them. They're done when they're hot, crunchy and covered in a thin sheen of moisture.
Campfire cooking isn't as hard as it might seem, nor does it have to produce subpar food. With proper planning and little practice, you can achieve results that often taste better than cooking at home. It could be that hunger is the best seasoning, but there's also something innately satisfying about preparing a meal outdoors. Give it a try next time you're afield.