


There's a real (but fairly simple) science to building a good fire. In this guide, we'll share some proven strategies for selecting a good site, getting the fire going, maintaining it and extinguishing it safely.
Choosing a Good Site for a Fire
A strategically located fire will be much easier to start and maintain than a poorly placed one. Try to find a spot with as many of the following characteristics as possible:
Flat ground, or atop a gentle rise (you don't want water running downhill and into your fire if it rains)
Shielded from wind
At least six feet in all directions from foliage that could ignite
Adequate ventilation
Easy access to water or loose soil for emergency extinguishing
A highly visible or well-concealed location, depending on whether or not you want other people to find you
Three Types of Fuel
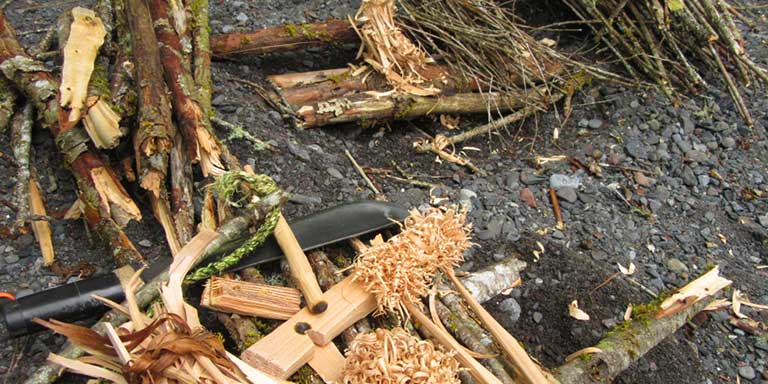
What's the difference between tinder, kindling, and fuel? Many people use the first two terms interchangeably, but each of these three things serve different purposes.
Tinder is any highly flammable substance (excluding accelerants) used in small quantities to start a small flame. Cotton balls, paper, dry plants and tree bark are commonly used as tinder.
Kindling is larger than tinder but smaller than fuel and is used to grow a small flame into a larger one. Twigs and small branches can make good kindling.
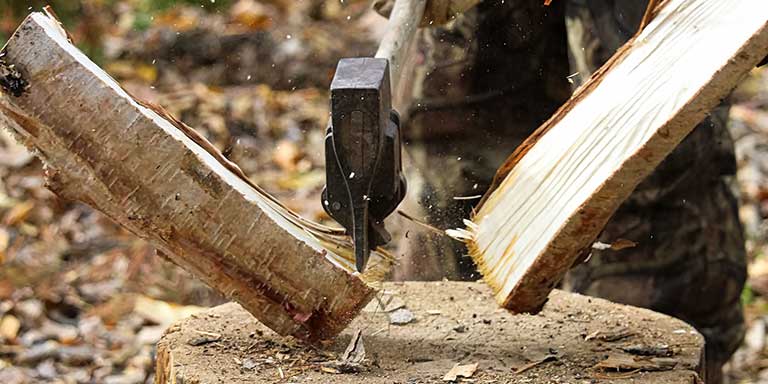
Fuel refers to large pieces of wood used to keep your fire going once it's reached a good size. Large logs and branches are most commonly used in the wilderness. When possible, gather deadwood, at least for the first batch of fuel. Freshly cut wood has a high moisture content and is harder to ignite until the fire is good and strong.
Starting a fire without all three types of materials will be difficult or even impossible. Gather plenty of each before you get to work starting your fire. For an average-sized campfire, you'll need several handfuls of tinder, an armload of kindling, and roughly four to six logs for each hour that you want the fire to last. The type of wood you use for fuel can significantly affect how long and how hot the fire will burn. If you'd like it to last all night, you'll likely need quite a few armloads of logs.
Types of Firewood by Region
All types of firewood are either hardwoods or softwoods, although the actual hardness of the wood isn't a reliable indicator. Hardwoods are denser than softwoods, which means that they burn longer and produce more heat, but they tend to be harder to ignite. Here are some of the most common and useful types of firewood you'll find in various parts of the world.
Desert areas: Eucalyptus, ironwood, pine and mesquite. Dry ocotillo and cactus ribs make good kindling.
Temperate forests, mountains, and plains: Apple, ash, birch, cedar, cherry, elm, fir, hickory, maple, oak, pine and walnut.
Tropical areas: Mahogany, teak, rosewood and ebony.
Arctic/snowy areas: Birch and spruce can make good firewood, but are often hard to find. Alder and willow make poor firewood but may be more abundant.
Easy and Effective Firewood Arrangements
The way you stack and arrange your firewood has a big impact on how hot and how long it will burn. There are dozens of different arrangements, but if you know the three most common ones, you'll be off to a great start.
Log Cabin
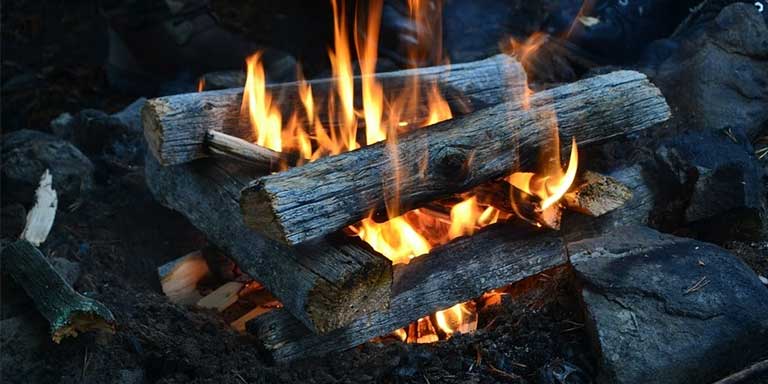
The log cabin is ideal for cooking and for warmth if you have the space to build one. It couldn't be simpler: Just lay two logs two or three feet apart and parallel to each other, then add a second, perpendicular layer. Stack three or four layers in total and start your fire in the center. The open sides allow for plenty of oxygen to feed the fire, and you can easily place cooking pans or skewers over the open top.
Cone
The cone is great for heat but isn't ideal for cooking. It requires less space than the log cabin and doesn't require the logs to be quite as straight and uniform. Simply arrange your kindling in a cone or teepee shape, ignite your tinder in the center, and gradually add bigger logs around the edges as the flame grows.
Pyramid
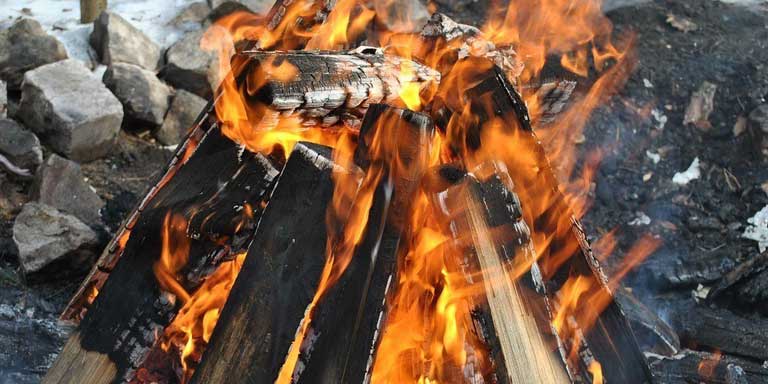
The pyramid doesn't burn as hot as a log cabin or cone because it doesn't get as much airflow, but it requires less maintenance and will burn longer without stoking or adding fuel. It's the same as a log cabin with two differences: each layer consists of logs placed tightly next to each other and is smaller than the layer it rests on. Light the pyramid from the top and let it burn down to lower layers; you'll get lots of coals and embers that will retain heat for several hours.
Making a Spark
Flint and steel, focusing lenses and bow drills are three of the most common fire-starting tools. They all do the same thing by different methods: ignite tinder, which creates a small flame that you'll gradually fan into a bigger one until it's hot enough to ignite kindling, which can in turn ignite fuel.

To get a spark from flint and steel, keep the wrist of your striking hand loose and rapidly scrape the steel along the flint at a 90-degree angle — don't hit it. Experiment with subtly different angles and levels of pressure until you get a good shower of sparks. Direct the sparks onto dry tinder until it catches.
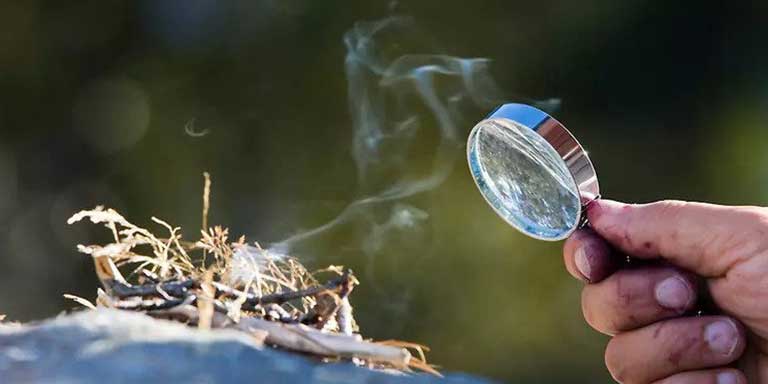
If the sun is out, using a focusing lens is one of the quickest and easiest ways to start a fire. With a magnifying glass, eyeglass lens or highly reflective, concave surface (such as the reflector of a flashlight), direct a beam of sunlight onto your tinder. Experiment with different angles and distances to get the smallest and most perfectly round circle of light possible and hold it steady for a minute or two. Soon enough, your tinder should start to smolder. Fan it gently and keep the light focused until you have a flame large enough to work with.
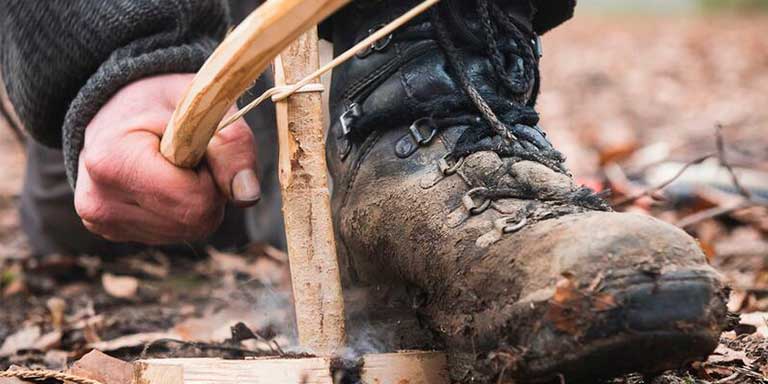
Bow drills are more complex and time-consuming to make, but some people find them easier to use than flint and steel. To craft one, you'll need a curved length of stiff wood about as long as your arm, a second piece of wood as thick and wide as your wrist and two more pieces about a foot long and an inch thick. You'll also need to find the right knife, about two feet of nylon cord or coarse fabric and a handful of moist leaves.
Cut one of the two one-foot lengths of wood into the smoothest, straightest cylinder you can manage and the other into a flat rectangle. Sharpen one end of the cylinder into a spear point, then blunt the tip slightly. Cut off the tip of the other end so that it's straight and flat. Carve a shallow, circular depression the width of the cylinder into the wide end of the rectangular piece, then set both pieces aside.
Cut notches into either end of the curved stick and tie the cord or fabric to it as though you were making a bow, but leave a bit of slack. Wrap the cord around the cylindrical stick one time and twist the stick 180 degrees so that it can move freely back and forth along the string.
In the wrist-sized piece of wood, carve a small hole just big enough for the sharpened end of the cylinder to fit into, then place the wet leaves over the hole and seat the cylinder's point into it. The leaves will provide lubrication to allow the cylinder to spin freely. Finally, place the flat end of the cylinder into the shallow depression on the rectangular piece of wood and hold it in place with the wrist-sized piece of wood. Start moving the bow back and forth to rotate the cylinder, which will generate heat through friction as it moves against the rectangular piece of wood.
Eventually, you'll start to see black charcoal dust and smoke building up in the depression under the flat end of the cylinder. Keep working the bow and checking the charcoal until you see faint orange embers and lots of smoke. You can then transfer the ember onto your bed of kindling and gently fan it to get it going.
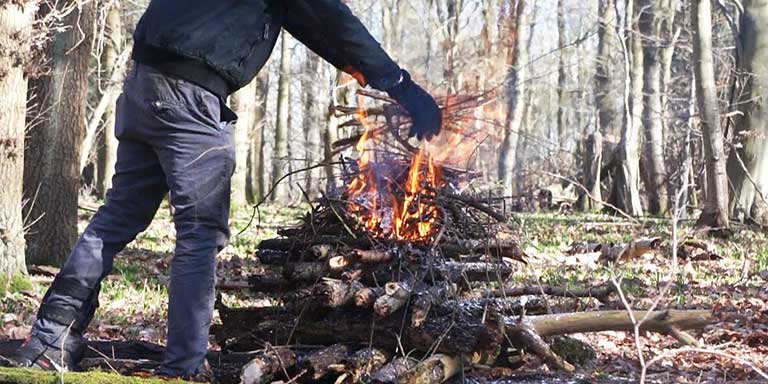
Once your tinder ignites, gently blow on it and keep fanning it to encourage the flame to spread. Add very small scraps of kindling and keep circulating air around the flame. Gradually add larger pieces of kindling until you have a nice, small fire. Be careful not to add too much kindling or fuel too quickly; this can smother your fire before the flames are strong enough to ignite larger items.
Modern Firestarters
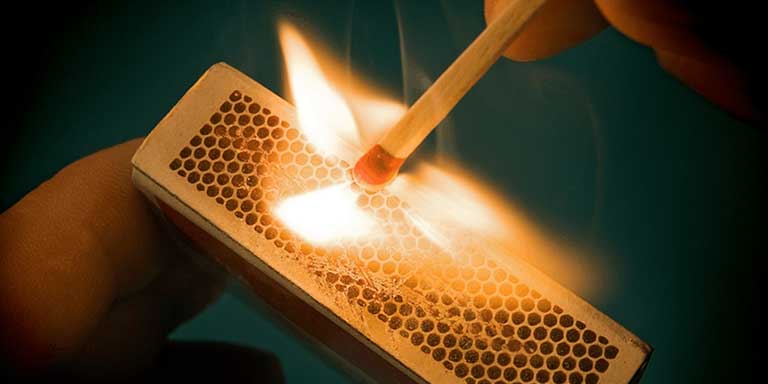
Of course, lighters and matches are among the easiest ways to start a fire. However, they have their own pros and cons. Lighters are less effective (or may not work at all) in cold weather because the gas inside isn't sufficiently pressurized at low temperatures. If a lighter won't light in the cold, put it inside your clothes against your bare skin for a few minutes to warm it up, then try again.
Moisture is the enemy of matches, unless you spring for the waterproof kind — but even those are generally water-resistant rather than truly waterproof. They're also highly susceptible to being snuffed out by wind, so take extra care to shield the flame.
Regardless of the ignition tools you use, the same basic principles of firecraft apply when it comes to choosing and using your tinder, kindling, and fuel. It's easy (and dangerous) to dump lighter fluid on some logs and throw a match on top, but you'll get a subpar fire this way, and you won't develop useful skills and good habits that you may really need later.
Banking and Stoking Your Fire
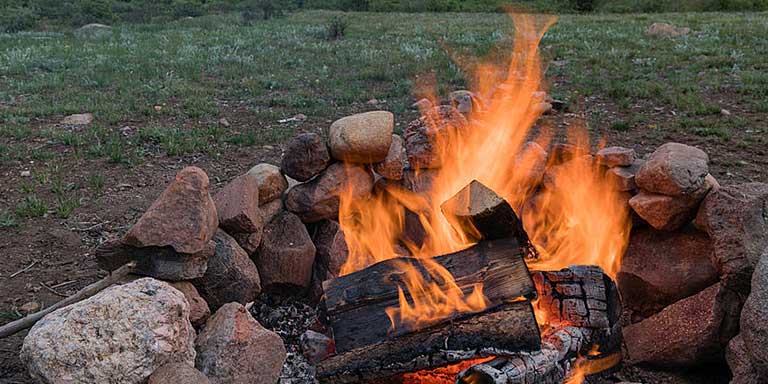
Stack some stones around your tinder to block the wind and add more stones as the fire grows. Banking your fire is a good idea even if there's no wind because it creates a non-flammable barrier between the fire and nearby leaves or plants. If there's a lot of flammable debris on the ground, clear it away in a six-foot radius around the fire.
As the fuel in your fire burns, it will shift around and may reduce the amount of oxygen that the flames are getting. Every half hour or so, use a long branch to rearrange the logs and maximize the amount of space between them (unless you're using a pyramid or another arrangement designed to burn low and slow). When you add more fuel, do so with respect to the same factors.
Outdoor Fire Safety
For obvious reasons, it's important to minimize the odds of starting a forest fire, but there are a few other major safety considerations as well. If you intend to sleep near the fire, put some sort of physical barrier between it and your sleeping area. Even better, extinguish the fire entirely if you don't need it for warmth while you sleep.
If you do need some heat during the night, ensure that your tent or sleeping area is upwind and as far from the fire as you can tolerate. Always keep several gallons of water or a large pile of loose sand or dirt within easy reach so that you can quickly douse the fire if it starts to get out of control.
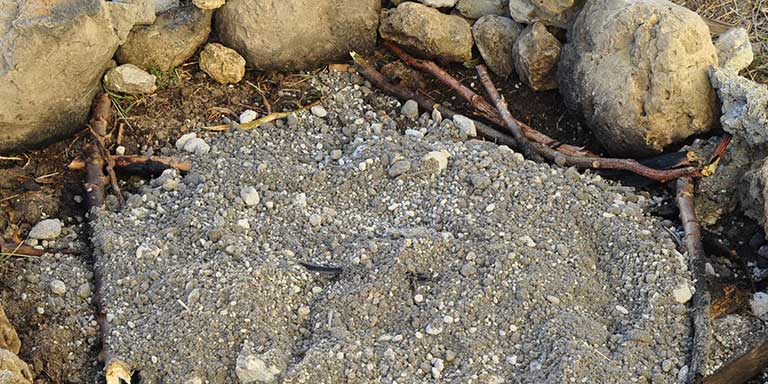
When you're ready to put the fire out, use water or dirt to cover the entire area. If you're using water, be careful to avoid the resulting steam, which can cause serious burns. Once you don't see any more flames, use a shovel or long branch to carefully and gently stir the ashes and ensure that there are no small pockets of fire or hot embers. Spread the ashes into a thin layer, douse everything once more, and finally, bury the remains of the fire under a layer of dirt or sand at least six inches thick.
Trying to build a fire can be frustrating if you don't know exactly what you're doing, but it's not too hard with the right methods and a little practice, and it's gratifying when you finally succeed. For more outdoor survival tips, learn how to find water in a survival situation, how to find or build basic shelter and basic survival medicine.
Did you find this article helpful?
Related Articles
-
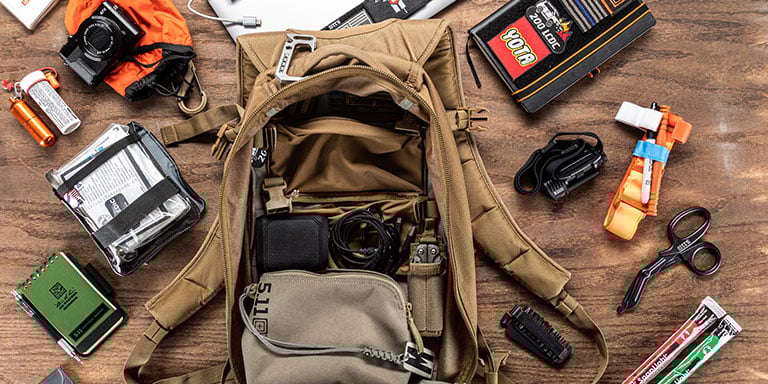
How to Build a Survival Kit
Being prepared is vital in a survival situation. We review the essential elements of building a basic survival kit.
Skills
136 others found this helpful -

Bug Out Bag Checklist: The Essential Guide to Bugging Out
Our survival experts created the essential guide for packing the right emergency gear in your bug out bag.
Checklists
97 others found this helpful -
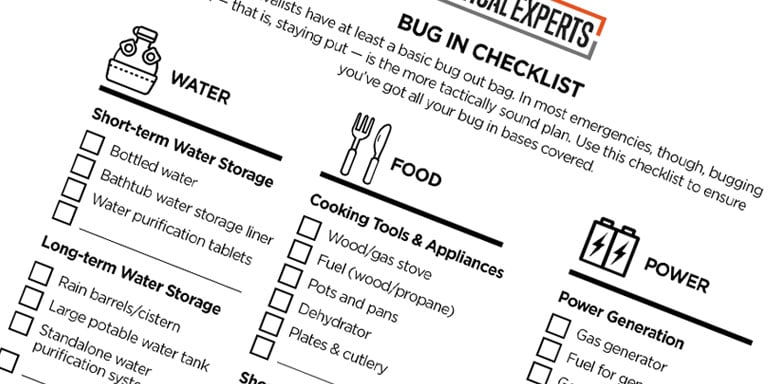
Bug In Checklist: The Essential Guide to Bugging In
Learn how to bug in if a disaster strikes. We laid out how to maximize your food and water supply and more in this guide.
Checklists
66 others found this helpful -

Basic Survival Medicine
Read both preventative and curative steps to help stay healthy in the wild, where it matters most.
Skills
40 others found this helpful -
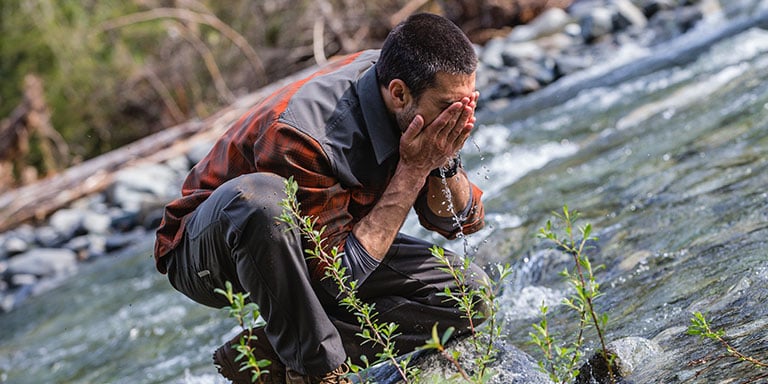
How to Find Water in a Survival Situation
Use this guide to establish reliable access to clean water, no matter what part of the world you’re in.
Skills
36 others found this helpful -
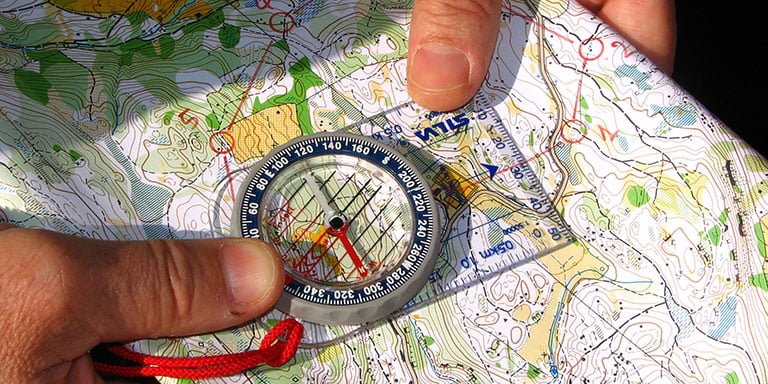
Map Reading Fundamentals
We lay out the basics of map reading and cover essential tools and terminology to help make land navigation simple.
Skills
30 others found this helpful
