

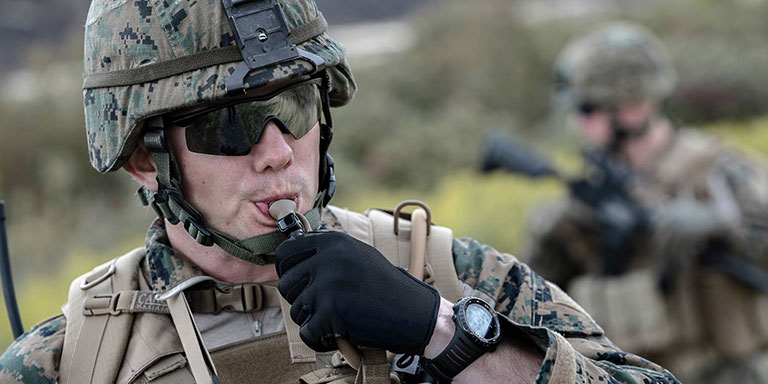
Whether you're exercising, exploring the outdoors or you're out in the desert with your unit, staying hydrated should be one of your highest priorities. Sure, water bottles are nice, but in order to efficiently carry and consume a large, easily accessible source of water over the course of an all-day (or even multi-day) journey, you need a hydration pack.
But which kind of hydration pack should you choose? How much water is too little, and how much is too much? How (and how often) should you clean your pack's reservoir? We'll cover all these questions and more in this comprehensive guide to help you find the perfect hydration pack for your job or journey.
Anatomy of a Hydration Pack
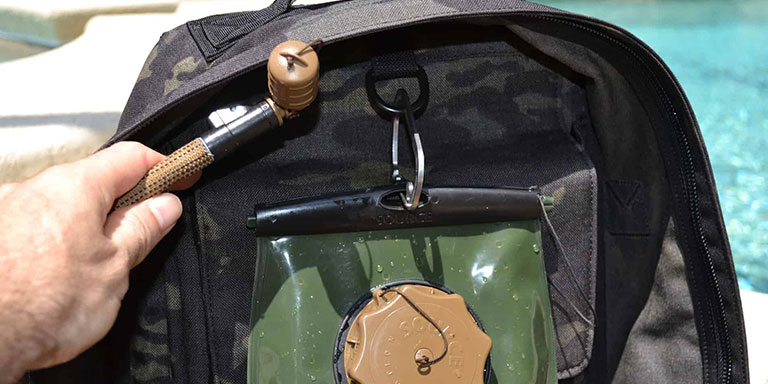
Hydration packs were born from a simple idea. Their inventor, Michael Edison, was a bicyclist and a paramedic. To stay hydrated hands-free during one of his bike races, Edison fashioned a makeshift hydration pack out of an IV bag with an attached tube that he stuffed into a sock. He pinned the sock to his shirt, and ran the tube over his shoulder and up to his mouth. Edison would go on to found the world-famous CamelBak, and though his original design has undergone some refinement over the years, the principle of the components of his original hydration pack remains the same.
The main component of a hydration pack is the pack itself. This pack can consist of anything from a streamlined bag engineered only to fit the hydration reservoir all the way up to a full-sized backpack.
The hydration reservoir fits inside the pack and holds anywhere up to three liters of water (or more). The reservoir (or bladder, as it's sometimes called) is made of a thin, flexible, plastic-based material and features a cap at the top that can be removed for easy filling.
A hose (or tube) runs from the bladder, through the pack and the shoulder straps up to the wearer's mouth.
Finally, a valve (or bite valve) rests by the user's mouth. The water doesn't flow from the bite valve until the user bites down on it, ensuring that the water in the pack doesn't spill out until you're ready to drink.
Types of Hydration Packs
Regarding the pack itself, there are, essentially, two main categories: hydration compatible backpacks, and hydration packs. While they both hold hydration reservoirs, the difference between the two basically boils down to their gear capacity.
Hydration-Compatible Backpacks
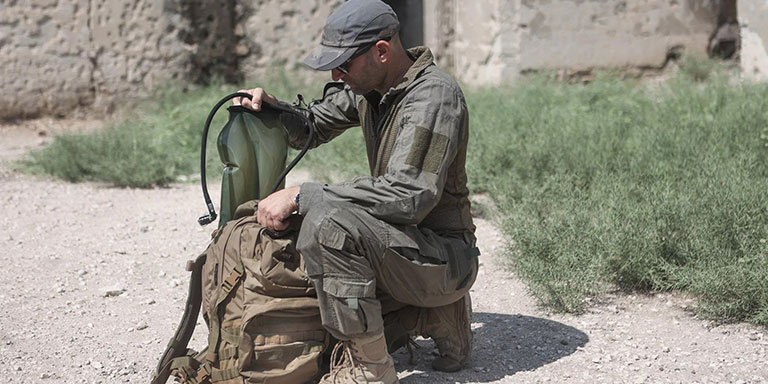
Hydration-compatible backpacks have a dedicated hydration reservoir pouch, usually behind or inside the pack's main compartment. These backpacks come with all the standard features of a typical tactical backpack, but they also contain channels and clips to accommodate a hose for easy access to the water inside the reservoir.
Hydration Packs
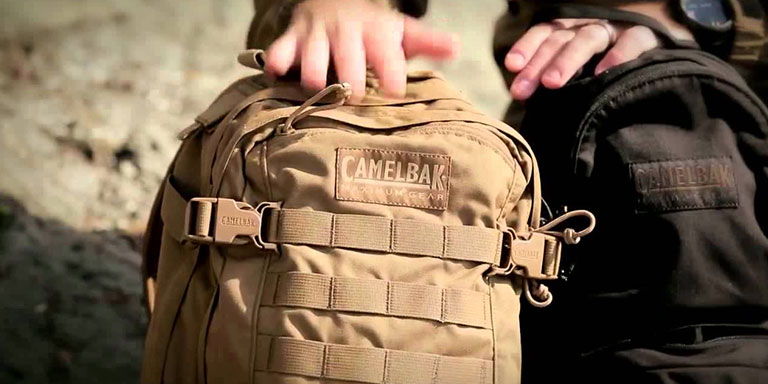
In contrast to hydration-compatible backpacks, hydration packs are more like a big pouch with shoulder straps. They're typically taller than they are wide, they fit a hydration reservoir, and they have all the requisite channels and clips to accommodate a hose as well. These kinds of packs usually can't fit much gear — at most, they'll usually have pouches for small things like a cell phone or some spare magazines.
Hydration Pack Uses
There are quite a few cases in which a hands-free, portable hydration system makes carrying and drinking large amounts of water much easier than it otherwise would be. From soldiers abroad to amateur and world-class athletes alike, there are many people who can benefit from the use of a hydration pack.
Training and Outdoor Activities
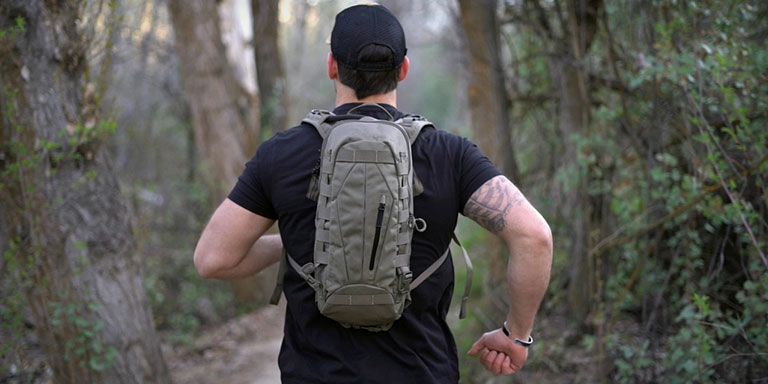
Whether you're training for the police academy, rucking out in the countryside or you're enjoying a sunny, triple-digit-temperature day at the range, a hydration pack is a viable solution for plenty of demanding activities. The best part of using one (besides the instant access to dozens of ounces of cool, refreshing water) is the convenience factor — after all, it's awkward to have to stop and reach for a water bottle while you're exercising. The added convenience means you'll drink more water more often, meaning you'll stay hydrated (instead of avoiding getting a drink because your water bottle is out of reach).
Military Operations
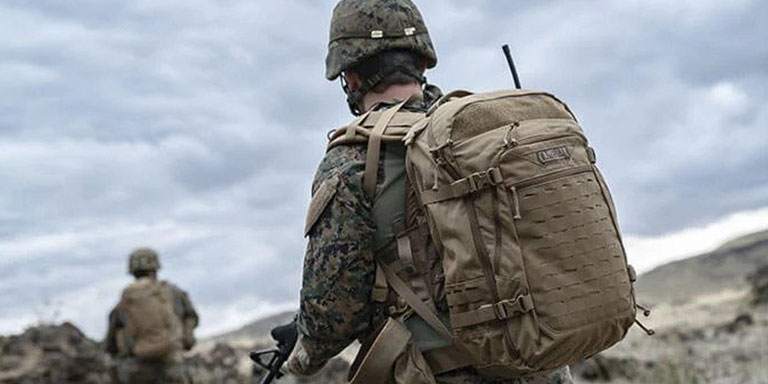
When you're serving in the military, efficiency and access to gear can literally be a matter of life and death. Whether it's a training exercise or the real thing, your day as a service member can easily consist of long stretches of downtime punctuated by short, onerous bursts of frenzied action. A hydration pack serves both needs; if you're thirsty and immobile in the desert, you can gradually drink your way through your large reserve of water and even refill it when it runs dry. When things heat up, though, it's simple to move the hose aside and jump right into the action. And when you're done, your water will be right there, ready to drink.
Hydration Reservoir Capacity
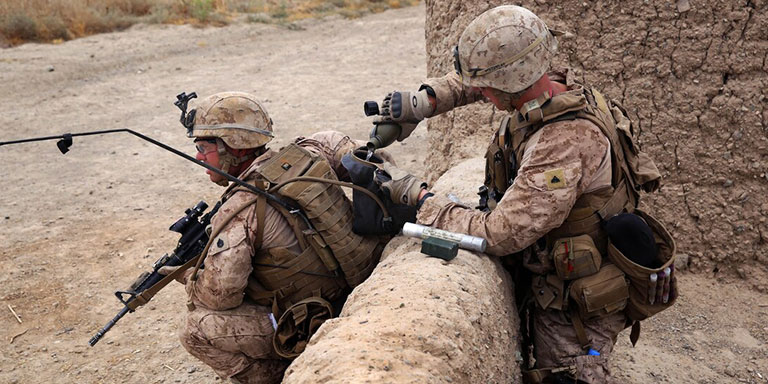
Carrying your own personal water supply sounds great in theory, and in many cases, it is. But it's important to remember that water is heavy, and there is such a thing as carrying too much water. You'll need to tailor your water capacity to whatever activity you're performing. Try to follow these guidelines.
1 liter to 1.5 liters (30 oz. to 50 oz.): This is a good amount of water for short outdoor trips or a few hours of intense activity.
2 liters to 2.5 liters (65 oz. to 85 oz.): This amount offers a good balance between weight and quantity. Go this route if you're unsure and want to err on the lighter side.
3 liters or more (100 oz. or more): Most reservoirs top out at around 3 liters. When it's hot out and water will be scarce, it's time to sacrifice the added weight for the security of a steady water supply.
You've probably heard this rule of thumb regarding hydration: the lighter-colored your urine is, the better. Dark yellow means you're dehydrated, while clear means you've been drinking plenty. You should make adjustments to how much water you are drinking based on your observations throughout the day.
Hydration Pack Gear Capacity
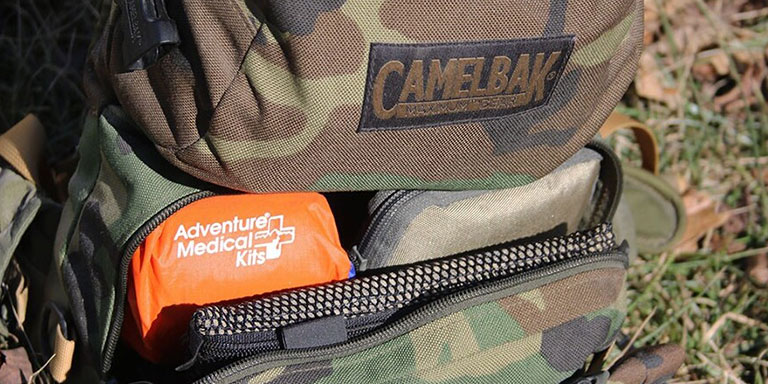
This measurement is distinct from the amount of water a reservoir can hold. A hydration pack's gear capacity is also measured in liters, but it instead refers to the amount of equipment the pack can hold (e.g. spare clothes, guns, ammunition, a cell phone, etc.). The following ranges and the amount of gear they can accommodate should give you an idea of what size you'll need.
5 liters or less: Packs of this capacity are usually the smaller, MOLLE-compatible kind. They can fit the bare essentials like a cell phone and a pair of sunglasses.
6 liters to 15 liters: These packs are typically MOLLE-compatible styles with a bit more size to them. They're good for day trips and can carry spare clothes and some extra food.
15 liters to 30 liters: Now we're getting into small to medium-sized backpacks. They're good for overnight trips, and they'll have pockets for magazines and phones, and a full-size pouch for clothes and firearms.
30 liters or more: These big backpacks can fit just about all the gear (and water) you'll need for multi-day excursions. They may even have load-support features for rucking and hiking.
Keep in mind that some packs can get even bigger still. Some manufacturers make hydration-compatible backpacks with gear capacities upward of 50 liters or more. These are for pretty specialized cases, though, so it's probably best to keep yourself limited to the range listed above. Whatever size you pick, just remember to factor in the weight of your gear plus the weight of the water you'll be carrying so you don't overburden yourself.
Hydration Pack Fit
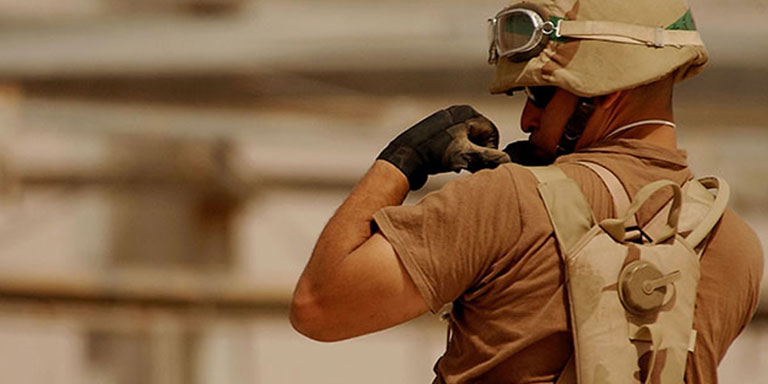
If you've ever had to move a water bed, you know that they're bulky and awkward to carry. To a lesser extent, that's how it is when carrying an ill-fitting hydration pack full of water around: it's heavy and it shifts around quickly, which can throw you off balance. As a result, it's incredibly important to make sure your hydration pack fits well to ensure a smooth, efficient carrying experience.
Virtually all hydration packs are worn over the shoulder like a backpack, and just about every one of them will come with adjustable shoulder straps. These straps are the key to getting your pack to fit correctly. Given the weight of your cargo, you don't want the pack to sag; try to wear it as high up on your shoulders as possible without making yourself too top-heavy. This will ensure that you stay balanced and that the weight you're carrying will end up distributed evenly across your shoulders.
Some hydration packs may come with hip belts, too, which is another component that will help both with fit and load management. Tighten the belt to keep the bottom portion of the pack secure (but not to the point of discomfort). Securing the pack at your hips will cause you to utilize your core strength to carry the weight of the pack more efficiently.
Cleaning Your Hydration Pack
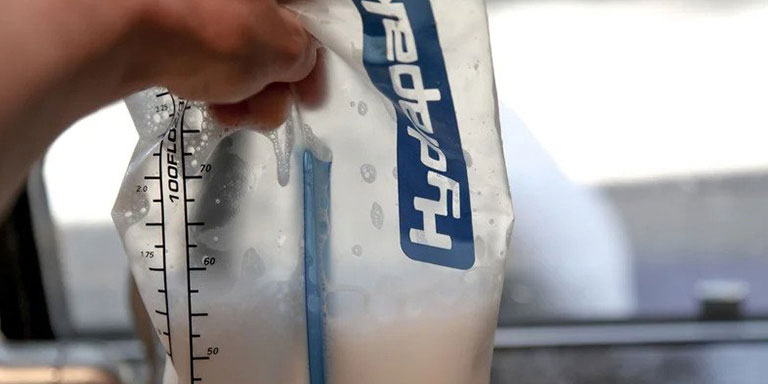
As with anything you drink from, a hydration pack can become a hub for germs, bacteria and mold, and should be kept as clean as possible. Some manufacturers make specialized kits specifically for cleaning hydration reservoirs. If you don't have a kit like this, though, there are a few other methods you can use for keeping your hydration pack and reservoir clean.
For starters, the bigger the fill hole on the reservoir itself, the easier it will be to fit your hand inside the reservoir to clean it. Mix some hot water with a few drops of mild dish soap and fill the reservoir (you can also add a pinch of baking soda if you'd like).
From there, scrub the inside of the reservoir. Brushes with a long handle will make this process much easier, but if that's not available, reaching your hand in with a scrubbing pad will suffice. After you've scrubbed the reservoir, drain it of the soapy water and rinse it out.
Don't forget to clean your hose and bite valve while you're at it. You can clean the bite valve pretty easily with soap and water, especially if it's removable. The hose can be a bit trickier, though; your best bet is to run soap and hot water through it, and then scrub the inside of it with a long, thin brush, followed by a good rinse or two to get the soapy water out.
It's vital to dry the reservoir and the hose thoroughly before storing them. You can towel off the inside of the reservoir (and the hose too, to the best of your ability). Air drying works well, too. When storing your reservoir and hose (after ensuring they're fully dry), be sure to cover any openings to prevent the accumulation of dust and other particles. Store them in a dark, room-temperature location.
If you don't have the time (or the inclination) to clean your hydration reservoir, one simple piece of advice from veteran outdoorsmen is to toss it in the freezer. The sub-zero temperatures will prevent harmful, mold-causing bacteria from growing on it. When you're ready to use it again, just take it out and throw it in your pack — no cleaning required.
Hydration Pack Features
Like any other type of tactical gear, hydration packs come with a myriad of features that make their use and maintenance simpler. These features also tend to work in concert with your other gear, improving the overall quality of your loadout and the cohesion of your collection. Be on the lookout for these features as you browse and decide which ones you do (or don't) want on your hydration pack.
MOLLE Webbing
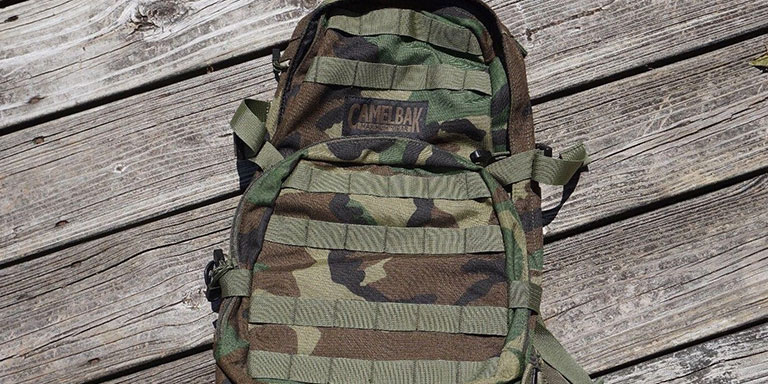
Like most other tactical gear and equipment, many hydration packs come with MOLLE webbing that allows you to attach magazine pouches, holsters, or any other compatible gear. While these additions may add to the weight of the pack, they're optional, and the versatility they provide is hard to beat.
Tube Portals
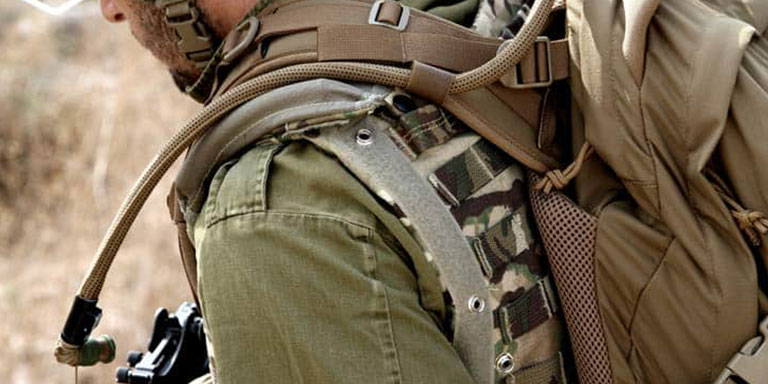
While these come standard with pretty much any hydration pack, they're still a vital feature. Tube portals are the holes in the pack through which you feed the drinking tube. The tube runs through the holes, up the shoulder straps and ends at your mouth for easy access.
Clips
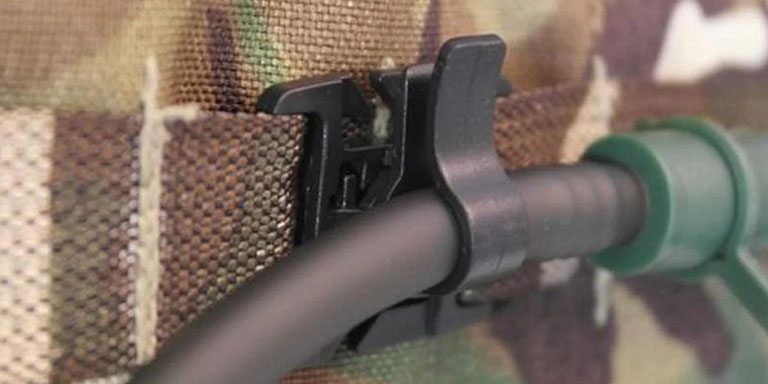
Of course, your hydration pack wouldn't be very easy to use if the tube were left flopping around out of the tube portal holes. Many packs feature clips on the straps to which you can attach the hose. This way you can lock the tube in place while still maintaining the ability to pull the bite valve up to your mouth.
Quick Disconnect
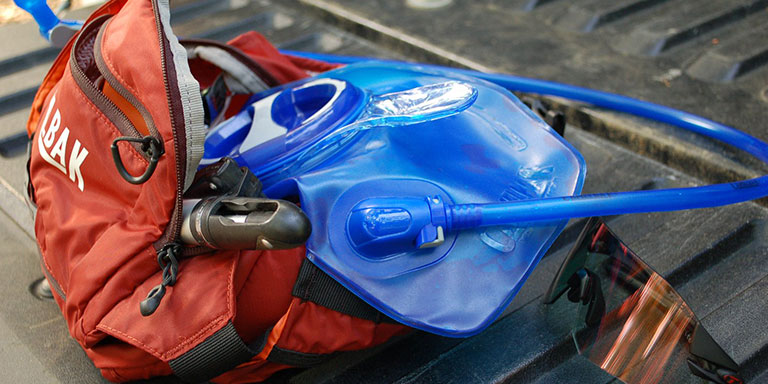
Many tubes are able to disconnect from the hydration reservoir with the simple press of a button or two (similar to a seatbelt strap). This makes cleaning and refilling much easier, and allows you to reattach the tube without having to thread it through the clips and tube portals again (which can be cumbersome).
Shut Off Valve
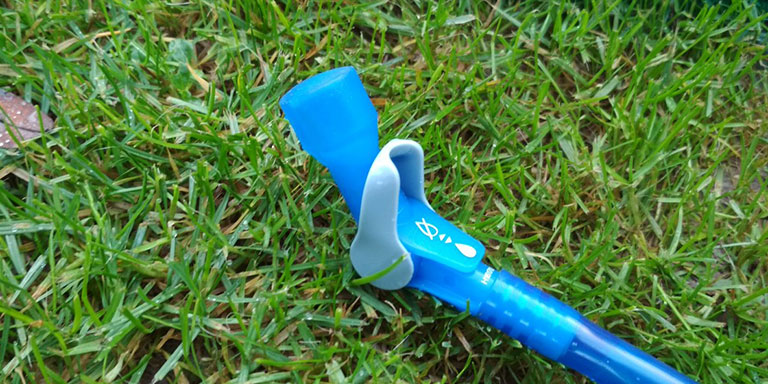
Bite valves are designed not to leak, but shut off valves provide an extra layer of security. These switches are usually located on the hose close to the bite valve. Flipping the switch prevents water from flowing through the tube. This is useful if your bite valve has started to leak, which can happen.
Wide Fill Hole
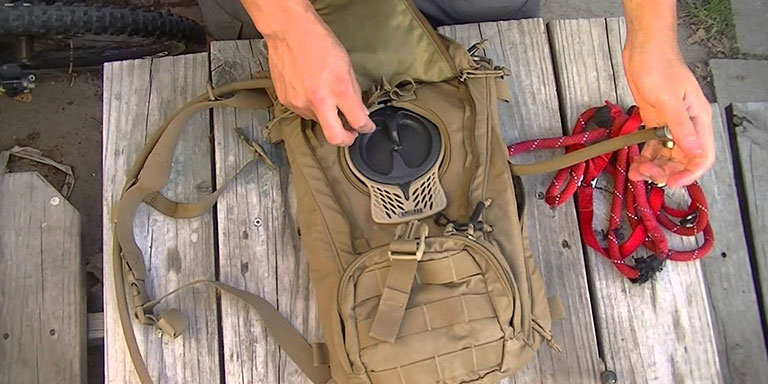
A wide fill hole makes both cleaning and refilling easier. The wider the fill hole, the more space you have to maneuver the pack under a sink or any other oddly positioned spigot to fill it up. A wide fill hole also ensures that you can fit your hand inside the reservoir when it's time to clean it.
Cold Weather-proof
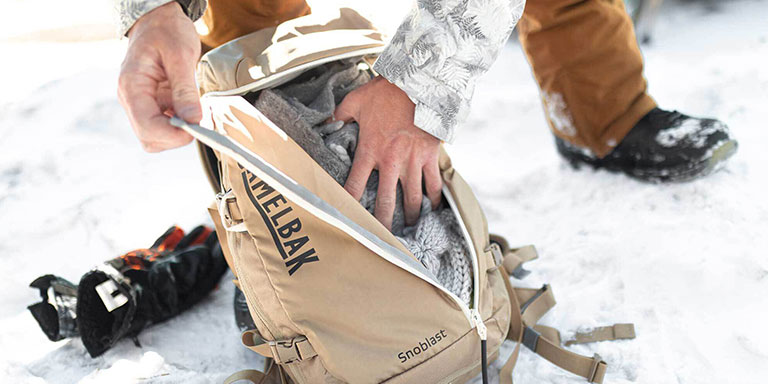
Carrying a bunch of water on your back in subzero temperatures can easily result in carrying a giant block of ice around on your back. Insulated hydration reservoirs help prevent this if you're carrying your pack in cold weather. It's common for sip tubes and valve covers to be insulated, too, to keep the water from freezing.
There's a lot that goes into choosing the right hydration pack. Once you narrow down which type of pack you need, what you're using it for and the features you want, though, the process becomes much easier. When you find the right pack, just be sure to keep it clean and stored properly, and you'll have a large, sanitary source of water you can take with you and use just about anywhere.