


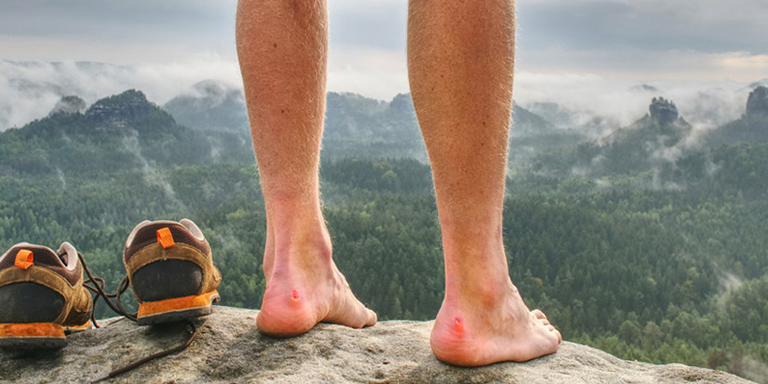
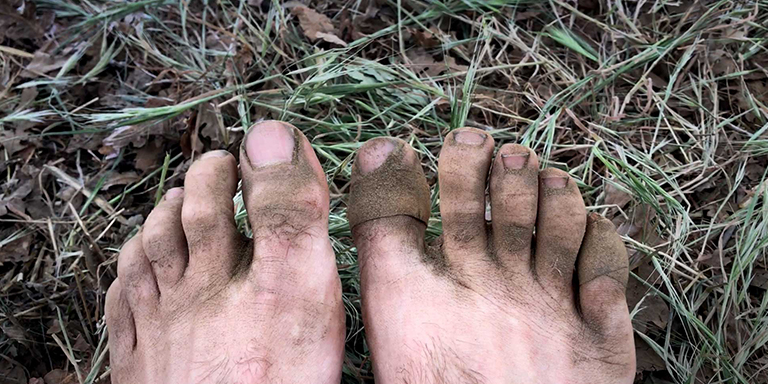
Anyone who's gone camping or hiking has waged at least one frustrating war on blisters. At best, they're a constant annoyance for days or weeks, but at worst, they can cause severe pain and infections.
Fortunately, with the right preventative care and treatment plan, you can reduce blisters or even eliminate them altogether.
What Are Blisters and What Causes Them?
As you might recall from freshman biology class, your skin is composed of three layers, each of which has several sub-layers. The deepest layer is the subcutis, with the dermis above that, and the epidermis above that. Friction blisters form when the dermis and the epidermis constantly rub against one another over a long time, causing inflammation and, eventually, partial separation of the layers. When this happens, fluid from the surrounding tissues fills the gap, creating a blister.
There are many types of blisters, but only two kinds of friction blisters, the kind you get from extended walking.
Blisters
Regular blisters are filled with either serum or plasma, both of which are components of blood. Serum is clear, whereas plasma has a very slight yellowish hue. However, the difference doesn't really matter for prevention or treatment purposes. In either case, the fluid helps to protect the damaged skin until it can heal.
Blood Blisters
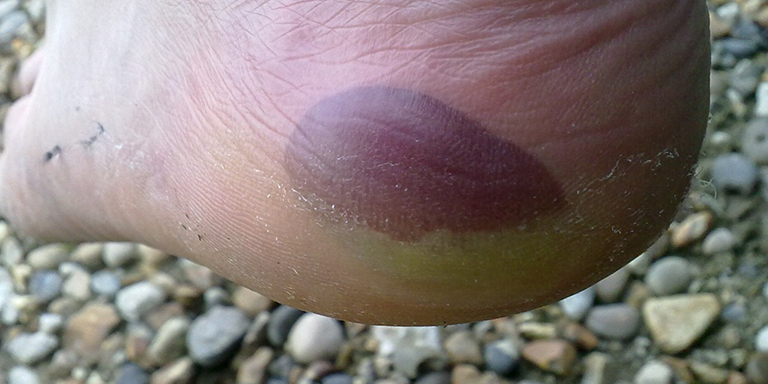
Instead of serum or plasma, a friction blister may be filled with blood. Blood blisters might seem to be a cause for alarm, but they're no more dangerous than regular blisters and they're treated exactly the same way.
Preventative Care
As with most things, an ounce of prevention is worth a pound of cure. There are a number of different things you can try to prevent friction blisters. We recommend combining all of them, except maybe medications — you may not need those unless other strategies fail.
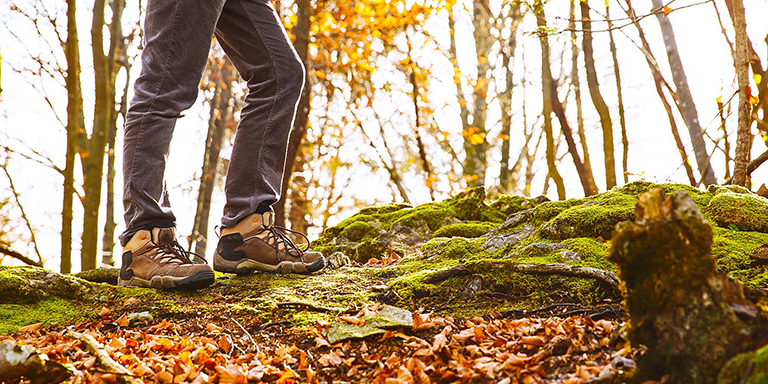
Choosing the Right Socks and Shoes
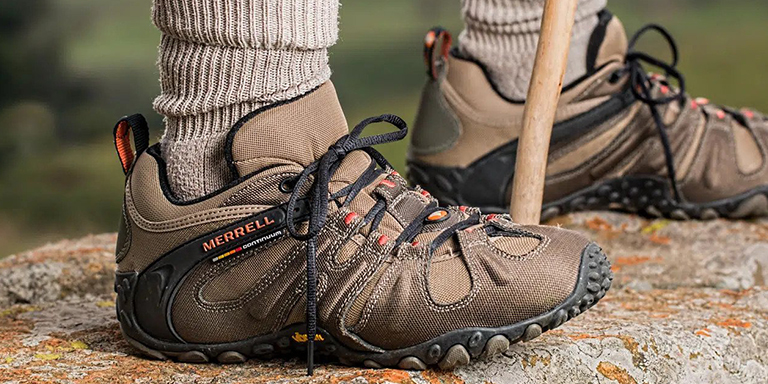
Choosing the right footwear and the right hiking socks is, by far, the best and most important thing you can do to prevent blisters. If you're going to be walking for any significant length of time, wear two pairs of socks: a tight-fitting inner pair and a thicker, more cushioned outer pair. The inner sock and the outer sock rub against each other when you walk, dramatically reducing the extent to which your epidermis and dermis rub against one another.
Both pairs should be made of synthetic fabric — whichever you find most comfortable. Stay away from cotton because it absorbs and retains moisture, which is bad for blister prevention.
Choose well-fitting hiking shoes or hiking boots that aren't too loose or too tight. You should have about half an inch of room between your toes and the toe of the shoe, and a quarter-inch on the sides. If you buy brand new shoes, wear them for a few weeks to break them in before going on a long hike. To be sure you find the right pair, read up on how to choose hiking boots and how to choose the right socks.
Insoles
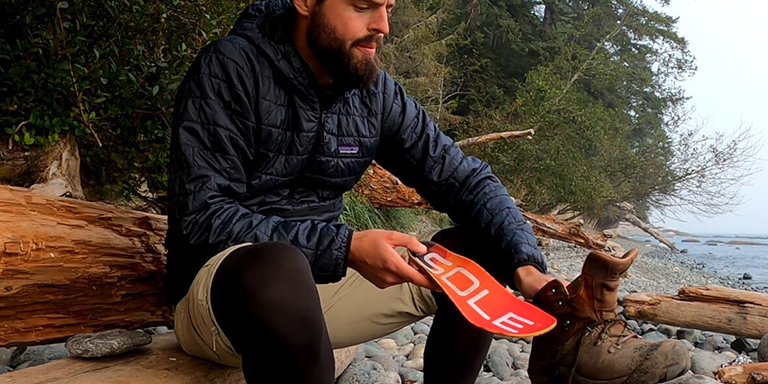
Even with brand new, high-quality shoes, a good pair of gel inserts can't hurt. Some are pre-sized, whereas others need to be cut to fit. In either case, the inserts should be just a tiny bit wider and longer than the inside of your shoe—about an eighth of an inch on all sides. This allows the insert to stay firmly in place in your shoe as it molds to fit your foot. If the insert is too small, it may seem to fit when you first put it in, but over time it will start to slide around inside your shoe.
Moisture Control
Whatever fabric you choose for your inner pair of socks, make sure it's something that wicks moisture. This will help ensure that most of your sweat is absorbed by the outer sock instead of by your skin. Wet skin wrinkles and loosens, hastening the formation of blisters.
While hiking, take your shoes off every time you take a break and let them air out. Take your socks off as necessary, or swap them for fresh ones. The drier you can keep your feet, the better (up to a point; there is such a thing as overly dry skin). When you bathe or shower, don't put your shoes or socks on until you're completely dry.
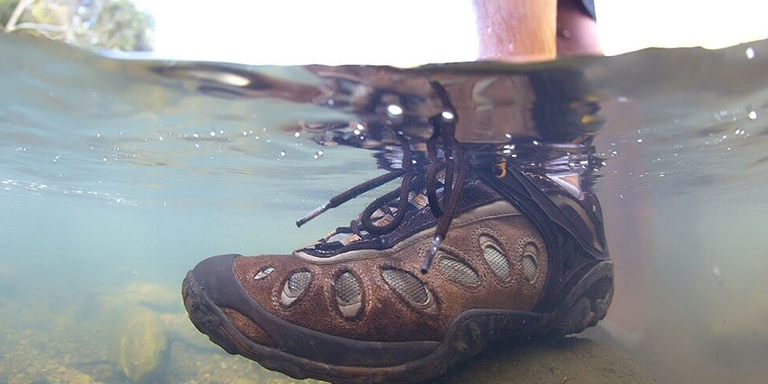
Should your feet get wet while crossing a stream or river, change into dry socks and shoes if you have some. If you don't, it might be best to call it a day and wait for your footwear to air dry, or (very carefully) dry it over a fire. Walking around for hours in soggy shoes not only virtually guarantees blisters, but it can also lead to much more serious rashes and infections.
Gradual Training
People new to long-distance hiking and running are called "tenderfeet" for a reason. When you walk or run a lot, over a long period of time the skin on your feet gets thicker and tougher, and you'll likely develop calluses. Unsightly though they may be, they're essentially foot armor: they ward off blisters and other damage to your skin.
Of course, it takes time to get to that point. Start your training slow, limit the distance you walk in a single day, and take frequent breaks. Blisters are a sign that you're walking too far, too often or improperly (granted, you may not have much of a choice, especially if you're in the military). Ramp up your training gradually over time, if possible, and always use a stride appropriate to the terrain.
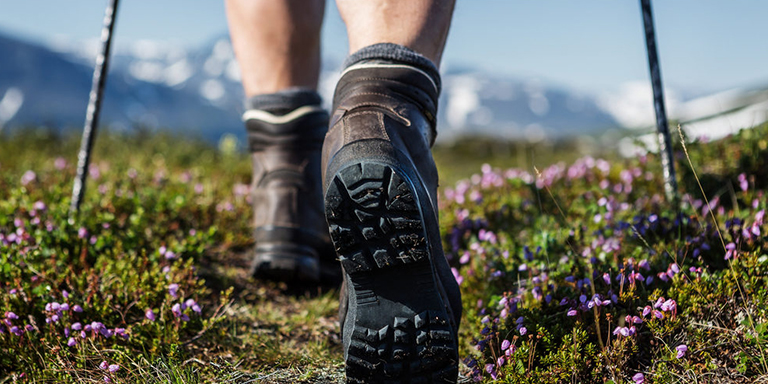
Right (and Wrong) Ways to Walk
When you're walking on flat, even ground, there's not much to it. Place your foot down with a rolling, heel-to-toe motion, and avoid plodding or shuffling. These kinds of strides greatly increase friction between your feet and the inside of your shoes.
Walking on difficult terrain is, well, more difficult. If you must cross deep sand, mud, gravel, shallow water or other unstable ground, lift your feet higher than you normally would and place each one down flat. This helps you stay balanced, uses less energy than shuffling, and reduces your risk of sprains. Hopefully, you won't be in that environment long enough for the increased friction to become a problem.
When going up a steep hill, lean forward at the waist and let your thigh muscles do most of the work, rather than your calf muscles. If you're going downhill, lean back to keep your upper body aligned as it would be on flat ground, and put more weight on your heels for extra stability.
Finally, we recommend buying or making a sturdy walking stick. It should be about as tall as you are and 2-3 inches thick, depending on how big your hands are. Regular and proper use of a walking stick can greatly reduce strain on your hips, thighs, back and ankles, and can help prevent blisters. Hold the stick in one hand with your elbow at a 90-degree angle, and move the stick forward when you take a step with the opposite leg.
Walking sticks are tremendously useful for hikers in other ways, too: they can help you keep your balance when navigating difficult terrain, act as a lever to make it easier to move heavy objects and serve as simple self-defense weapons.
Preventative Medications
If you're still battling blisters even when using these other strategies, topical medications are the next thing to try.
If your feet are too sweaty, try applying a heavy-duty, roll-on antiperspirant every few hours. You can also try a light coating of baby powder inside your socks, but stick with one or the other.
For dry or cracked skin on your feet, use an unmedicated, unscented moisturizing lotion or specialty products such as RunGoo and SportShield.
If all else fails, try soaking your feet in a solution of 10% tannic acid a few times per week. We've never tried this, but some marathon runners swear by it.
If you're interested in staying healthy in the Great Outdoors, take a look at our introductory guide to basic survival medicine.
Treatment
Annoyingly, you may develop blisters in spite of your best prevention efforts. Fortunately, treatment is simple and easy.
Cleaning and Draining
The best thing you can do for a blister is to keep it clean and protected from further injury. Gently wash the area with clean water or a wet wipe every few hours. If the blister isn't too bothersome, it's best to leave it alone after cleaning it, but if it's causing extreme discomfort, you can pierce and drain it as often as needed.
Use a sterile needle or knife blade to very gently pierce the outer layer of skin. To semi-sterilize your knife in the field, first remove all visible debris, then heat the tip of the blade over a flame for about a minute. Let the fluid drain out of the blister, then bandage the area carefully.
Never cut or peel away the outer skin—just drain it, then let it be. Removing the skin greatly increases pain, delays healing, and almost guarantees an infection.
Preventing Infections
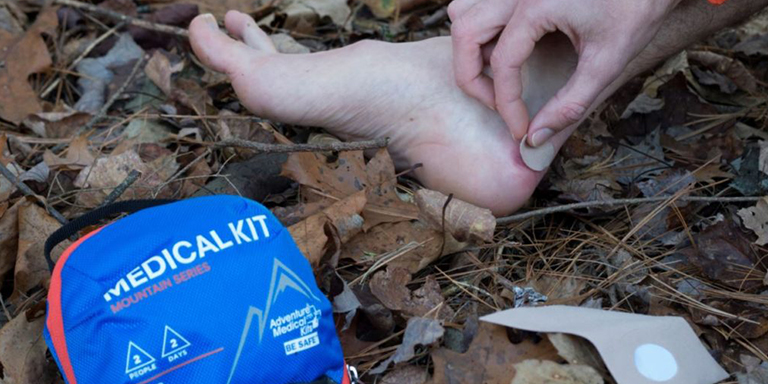
After you've cleaned the area and drained the blister (if needed), apply a light coat of antibiotic ointment. Take care to keep your foot as clean as possible during this process. When you're done, apply a clean bandage and wrap it tightly, but not so tightly that it cuts off your circulation. When you're in the field, plan on cleaning the area and re-applying antibiotic ointment every 4-6 hours.
If the blister does become infected, there's not much else you can do. Just continue to clean the area and apply antibiotic ointment, as you've already been doing.
Moleskin
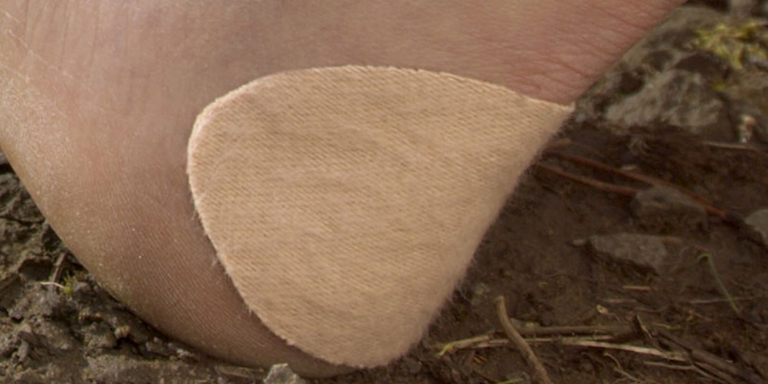
Moleskin is a special bandage designed specifically for blisters, corns and other minor foot injuries. It's adhesive on one side and covers the skin around the blister. The fabric is thick and soft, providing extra protection while the blister heals.
Bandages
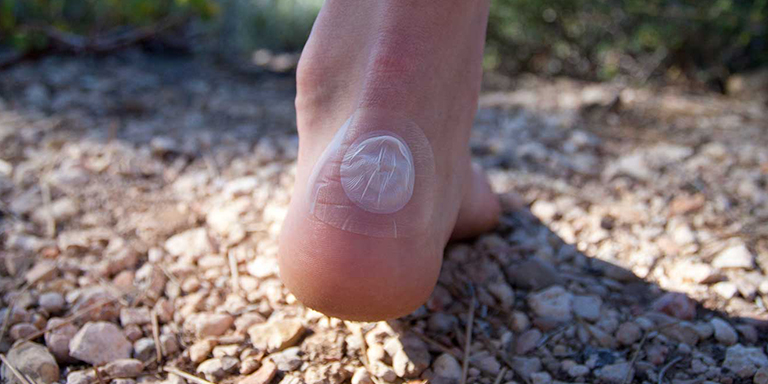
If you don't have moleskin bandages, regular ones will work almost as well. Wrap the bandage around the affected part of your foot several times to create a protective cushion, but don't make the bandage so thick that it's hard to get your socks and shoes back on — this will make your blister situation worse, rather than better.
Blister prevention and treatment can be mildly annoying, but at least it's not difficult. With regular preventative measures, you have a good chance of never developing blisters at all, but even if you do, now you know how to keep them from ruining your excursion.
Did you find this article helpful?
Related Articles
-
How to Build a Survival Kit
Being prepared is vital in a survival situation. We review the essential elements of building a basic survival kit.
Skills
133 others found this helpful -

Bug Out Bag Checklist: The Essential Guide to Bugging Out
Our survival experts created the essential guide for packing the right emergency gear in your bug out bag.
Checklists
69 others found this helpful -

Basic Survival Medicine
Read both preventative and curative steps to help stay healthy in the wild, where it matters most.
Skills
36 others found this helpful -
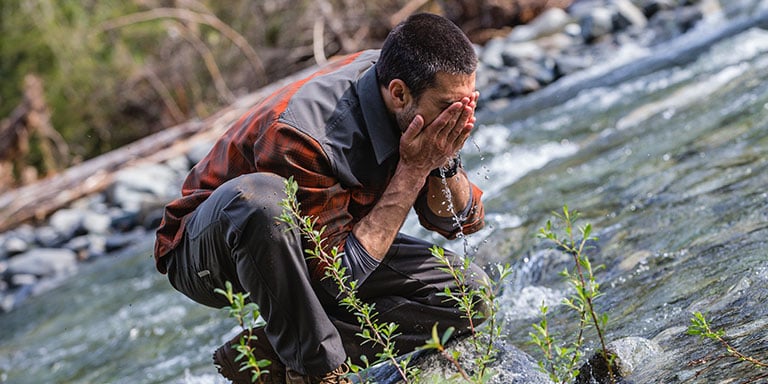
How to Find Water in a Survival Situation
Use this guide to establish reliable access to clean water, no matter what part of the world you’re in.
Skills
34 others found this helpful -
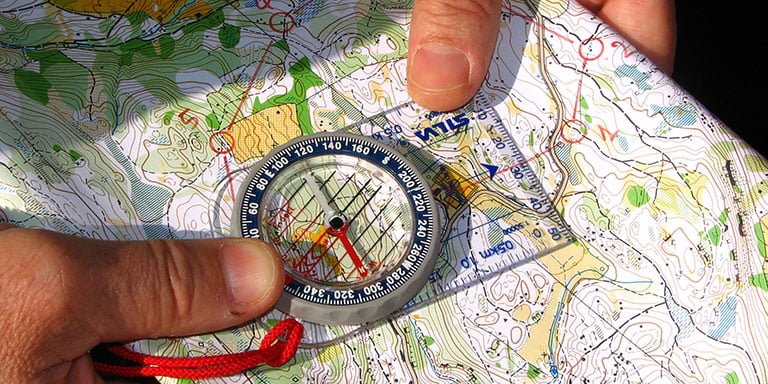
Map Reading Fundamentals
We lay out the basics of map reading and cover essential tools and terminology to help make land navigation simple.
Skills
28 others found this helpful -
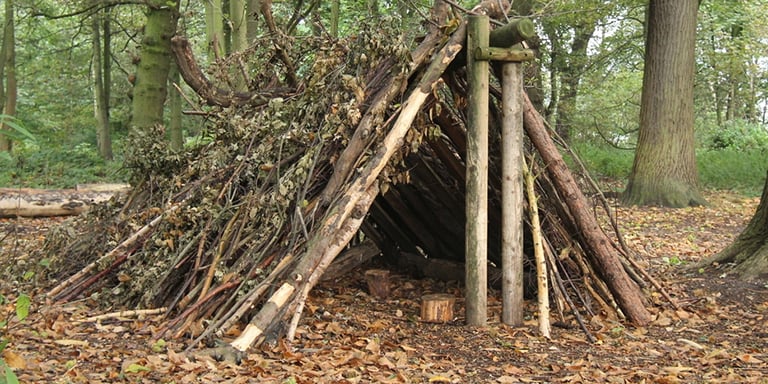
How to Find or Build Basic Shelter
We cover finding, repurposing and building shelter in this comprehensive survival guide.
Skills
28 others found this helpful