

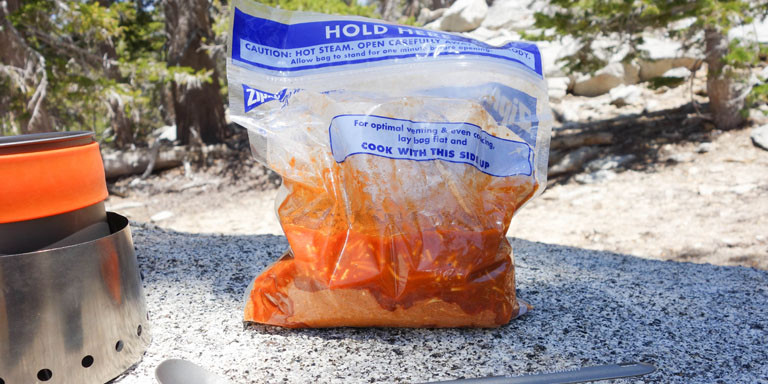
MREs (meals ready to eat), granola, trail mix and dehydrated meats are popular food choices for backpackers, hikers and hunters, but there's another, often-overlooked option: freezer bag meals. They're lightweight, easy to prepare and delicious — certainly more so than many store-bought alternatives.
In this guide, we'll share some tips on how to prepare and cook cost-effective, tasty meals for your next wilderness outing.
What are Freezer Bag Meals?
Figuring out the exact differences between the various kinds of backcountry meals can be a little confusing. Here's a quick breakdown:
- MREs contain pre-cooked food (or food that doesn't require cooking), which is preserved primarily by vacuum sealing.
- Dehydrated foods like jerky and fruit are meant to be eaten in their dehydrated state.
- Freeze-dried meals contain food dehydrated via freezing rather than by heat. They can be rehydrated with hot water, but they must be vacuum sealed or refrigerated.
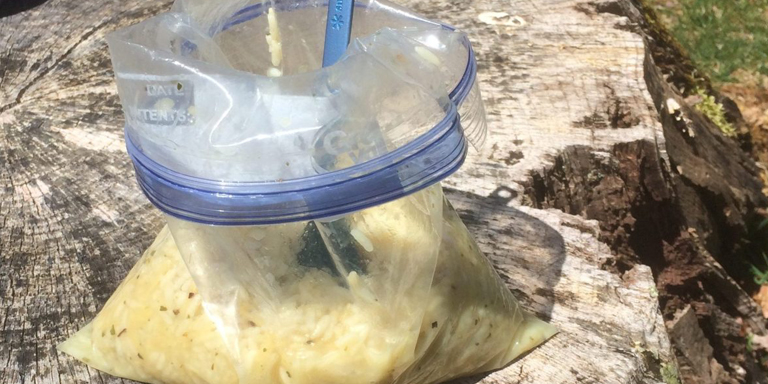
- Freezer bag meals use foods that aren't necessarily frozen or dehydrated, although some could be. They often use dry ingredients that are shelf-stable at room temperature, so preservation is less of a concern. Adding hot water makes these meals a lot tastier and more satisfying.
Pros and Cons of Freezer Bag Meals
Like most things, freezer bag meals have their advantages and drawbacks. You might want to try them if these things sound good:
- Generally inexpensive ingredients
- Easy to prepare in the field
- Lightweight, space-efficient meals leave more room in your bag
- Easy cleanup — no extra dishes or trash to attract bears
- Wide variety of recipes
However, freezer bag meals do have some downsides, including:
- Planning recipes, shopping and at-home preparation take time
- Limited list of ingredients; some foods don't cook well in hot water
We think the pros of freezer bag meals outweigh the cons; unless you really don't like shopping and preparing meals at home (which is fair), give them a try on your next outdoor excursion.
At-Home Preparation
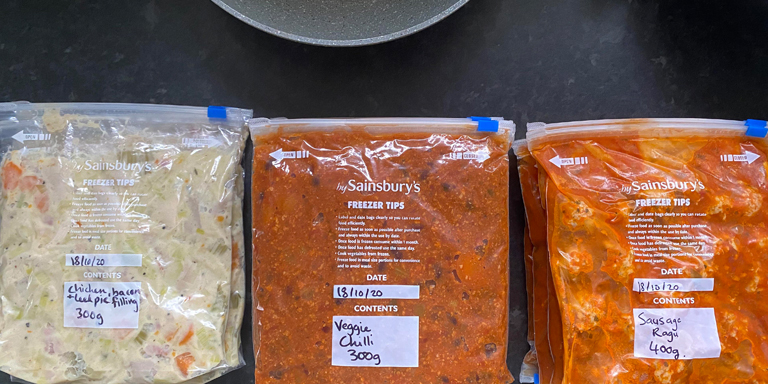
One major appeal of freezer bag meals is that you can do most of the prep work at home, minimizing the work you have to do in the field. The basic process is pretty simple, albeit somewhat time-consuming.
- Select recipes
- Buy ingredients
- Portion ingredients and assemble meals in plastic freezer bags
- Label each bag with the meal name, amount of water required, and shelf life (if some ingredients won't last as long as others, you'll want to eat those meals first)
Easy, right? Later in this guide, we'll suggest ingredients to experiment with and share a few of our favorite freezer bag recipes.
Heating and Handling
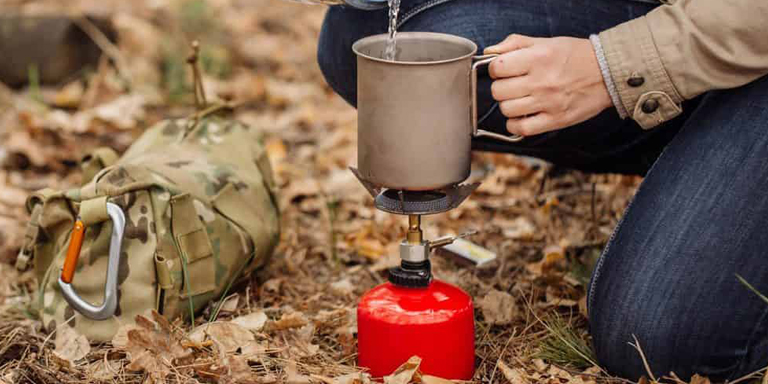
One reason freezer bag meals are so weight and space-efficient is that they eliminate the need to carry around bulky, heavy cooking equipment. The only thing you'll need to heat is water, and you can do that with ultra-compact, lightweight tools.
If you want to cut weight as much as possible, invest in a small titanium cooking pot. Titanium is super light, and although it's poor for many cooking tasks due to its tendency to distribute heat unevenly, that's not a big concern when you're only boiling water. Aluminum cookware is a little heavier, but it's much less expensive.
When it comes to heat sources, stoves that use isobutane or propane are popular, as are Sterno cans. Single-person camp stoves have come a long way in recent years; many modern models are about the size of a football and weigh less than a pound. Jetboil is a popular brand among outdoorsmen, but there are many similar stoves to choose from. Most camp stoves can boil water in just a few minutes, and a single fuel canister lasts several hours, making them highly fuel-efficient.
Sterno, a compact and flammable gel, is also great for simple camp cooking. A single 7-ounce can burns for about two hours, although you'll need to pack a standalone pot as well (most compact camp stoves come with integrated or collapsible pots). Between the two options, Sterno tends to be a little cheaper, but it's also slightly more cumbersome and less versatile than a one-piece stove.
If you're confident in your fire-starting skills and looking to carry even less weight, you can ditch the stove and use a regular campfire to heat your freezer bag meals (you'll still need a pot, of course). When all else fails, you can rehydrate freezer bag meals with cold water instead of hot, although it'll take several hours instead of several minutes — and the food won't be as tasty. If you prefer cooking over a campfire instead, be sure to check out our guide to cooking over an open fire.
We recommend packing several extra, empty bags to do the actual cooking in. Some of the original bags are likely to get torn in your bag, and pouring hot water into a holey bag will prove problematic. When you're ready to eat, boil about 20% more water than the recipe calls for to account for evaporation. Once the water reaches a low boil, remove it from the heat and let it cool for about 5 to 10 minutes — long enough to ensure that the water is still hot, but no longer near its boiling point (boiling water is likely to melt your plastic bag). Carefully pour the hot water into your meal bag, seal it tightly and wrap it in something warm until the water is absorbed, which usually takes just a few minutes. Eat with a long spoon, and when you're done, simply re-seal the bag and pack it tightly with your other trash in a sealed container.
Making Your Own Freezer Bag Meals
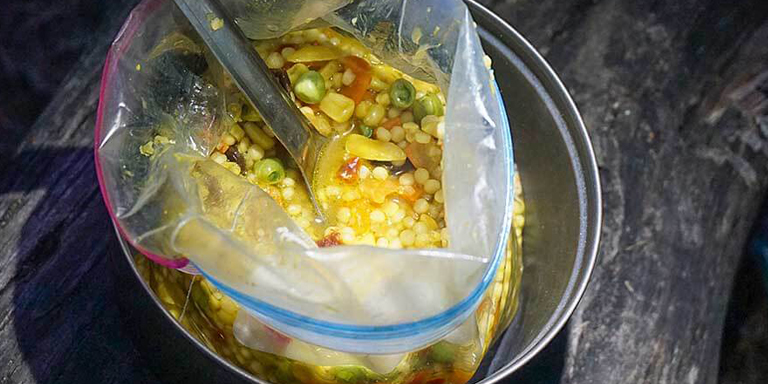
Many freezer bag meal recipes call for some kind of starch as the base ingredient. If you're a skilled cook, you can experiment with many other base ingredients, but if you're just getting started, it's probably best to stick with one of the tried and true bases for now. Here are the basic kinds of ingredients you'll need to prepare a wide variety of tasty trail meals:
-
Starch or “base” ingredient; something high in carbs for short-term fuel if you're highly active outdoors
- Rice, noodles, pasta, or instant potatoes
- Oatmeal and grits are also good choices for breakfast dishes
-
Dehydrated or freeze-dried meat
- Homemade or store-bought jerky
- Freeze-dried beef, pork, chicken or eggs
-
Dehydrated vegetables
- Leafy vegetables usually don't taste great when dried and rehydrated, but most others are solid choices
-
Oils and spices
- Many lunch and dinner dishes go well with a splash of olive oil for extra fat, calories and flavor
- Bring a selection of herbs and spices in small bags or packets
- Pack small packets of condiments like ketchup or barbecue sauce as desired
Recipes to Get You Started
Here are six of our favorite freezer bag recipes to provide some inspiration and get you started — two each for breakfast, lunch, and dinner.
Breakfast
Trail oatmeal (5 to 8 minutes to rehydrate)
- ⅓ cup steel-cut oats
- 2 tsp. powdered milk
- Sugar, raisins, cinnamon, cocoa, and/or peanut butter to taste
- ½ cup water to rehydrate
Cheesy bacon grits (5 minutes to rehydrate)
- 1 cup instant grits
- 2 tbsp. powdered milk
- 2 tbsp. bacon bits
- ½ tsp. onion powder
- ½ tsp. garlic powder
- 2 oz. shelf-stable cheddar cheese
- 1 cup water to rehydrate
Lunch
Pesto pasta salad (15 to 20 minutes to rehydrate)
- 4 oz. of pasta (cooked and dehydrated)
- 1 packet dried pesto mix
- ¼ cup parmesan (dried or shelf-stable)
- Dehydrated peas
- Dried mushrooms
- 1 tsp. olive oil (add after cooking)
- 1.5 cups water for rehydrating
Alfredo vegetable rice (15 to 20 minutes to rehydrate)
- 1 cup instant white rice
- 2 tbsp. powdered alfredo sauce mix
- 2 tbsp. shelf-stable parmesan cheese
- 2 tbsp. powdered milk
- ¼ cup freeze-dried mixed vegetables
- 1 cup water to rehydrate
Dinner
Moroccan chicken couscous (10 minutes to rehydrate)
- 1 cup couscous
- 1 cup chopped dried apricots
- ¼ cup sliced almonds
- 1 tsp. salt
- ½ tsp. cinnamon
- ½ tsp. cumin
- ½ tsp. coriander
- ½ tsp. ground ginger
- ¼ tsp. ground cloves
- 1 tsp. olive oil (add after cooking)
- 7 oz. pack of vacuum-sealed chicken
- 1 cup water to rehydrate
Classic mac and cheese (15 to 20 minutes to rehydrate)
- 4 oz. pasta (cooked and dehydrated; rehydrate pasta alone, then add everything else)
- ¼ cup powdered milk
- 1 tbsp. dried or shelf-stable parmesan
- ½ tsp. garlic powder
- ½ tsp. onion powder
- Pepper to taste
- 2 tbsp. olive oil
- 1 cup water to rehydrate
For the most part, you can't take the comforts of home with you when you venture into the great outdoors, but you can bring healthy, delicious meals comparable to those you can make with a fully-stocked kitchen.