

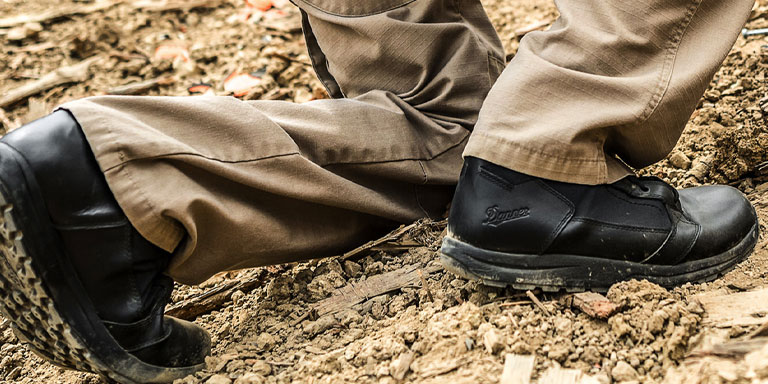
A good pair of tactical boots–like a good pair of tactical pants–will serve you well for many years if you take good care of them. Although footwear is generally more challenging when it comes to DIY maintenance and repairs, there are a few simple things you can do to extend the life of your boots.
In this guide, we'll cover inspection, cleaning, and storage; reapplying waterproof protectants; fixing and replacing eyelets; patching holes; and replacing soles.
Basic Preventative Maintenance for Your Tactical Boots
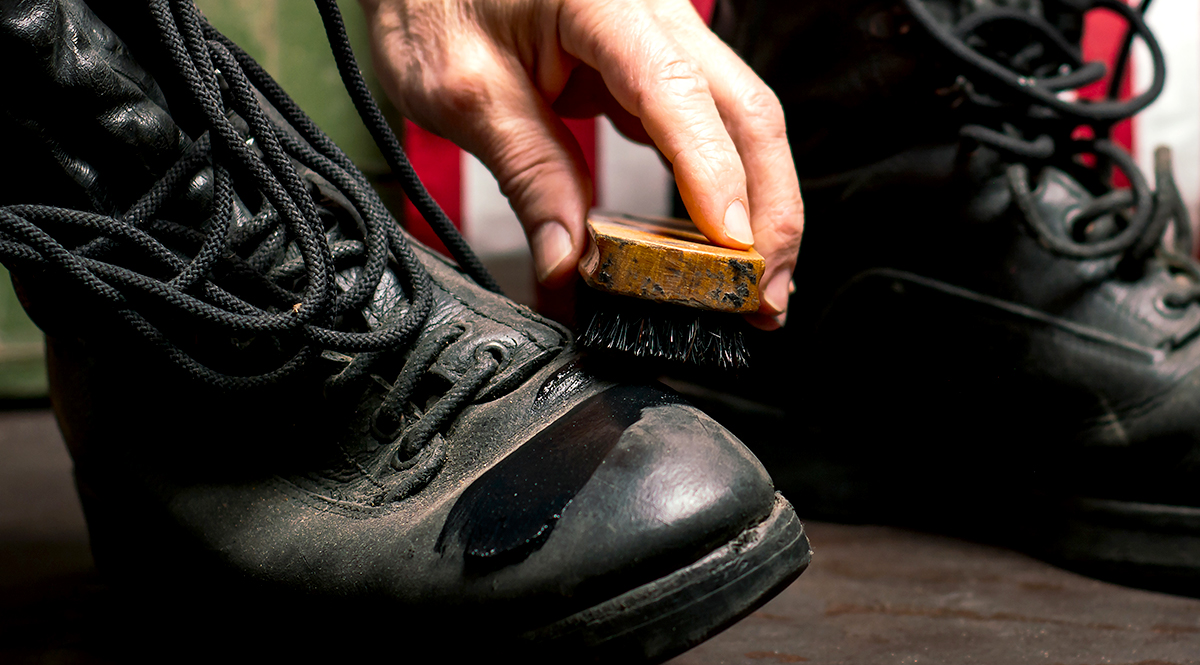
The single best thing you can do for your tactical boots is to keep them clean and in good repair before any major damage occurs. Suede and nylon boots can safely undergo light cleaning with slightly soapy water, a soft nylon brush (like an old toothbrush), and a soft cloth. Be sure to remove all traces of soap (dried soap attracts more dirt, and it can crack or weaken certain materials).
If your boots are made of full-grain leather, hold off on the soap and use extra elbow grease instead. For particularly stubborn spots, you may need to use specialized leather boot cleaner, which is designed to remove tough dirt without causing damage. Once your boots are nice and clean, apply a wax-based polish with a damp cloth. Apply several thin coats.
If you need to store your boots for a while, hang them on a boot tree or stuff them with newspaper, and put them in a cool, dry place away from direct sunlight.
How to Apply or Refresh Waterproofing
Before you decide to waterproof (or re-waterproof) your boots, note that waterproofing isn't always a good idea. It depends on your typical operating environment and on the material your boots are made of.
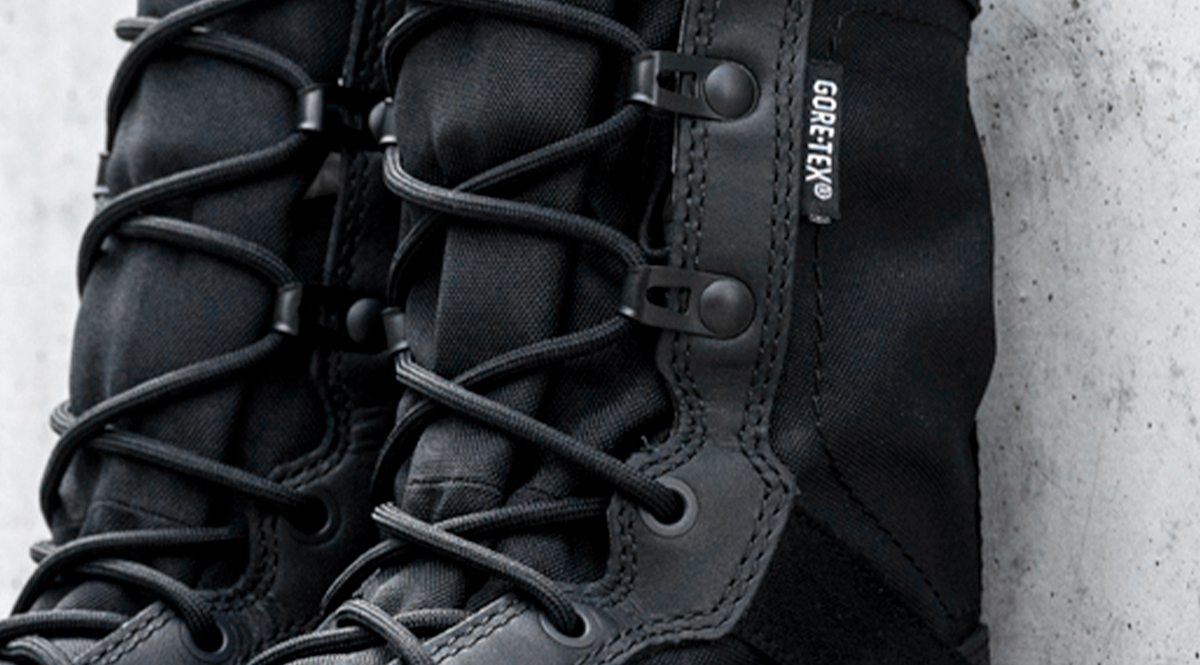
- Boots made of Gore-Tex or similar materials are designed to be waterproof for life and shouldn't need any additional upkeep in this respect. The waterproofing should last as long as the boots themselves do.
- Full-grain leather boots can be waterproofed and re-waterproofed as needed by applying wax or oil-based protectants. These can be bought and applied separately, or you can buy boot polish that includes them. Check out our article on how to best polish your tactical boots.
- Some suede and synthetic boots can be waterproofed with sprays designed for that purpose, but there are risks to consider. Some materials aren't designed to be waterproofed at all and may be damaged or discolored by such sprays. Other materials (such as certain nylon blends) may become more water-resistant but won't necessarily keep all moisture out. In any case, waterproofing sprays are temporary and will need to be reapplied on a regular basis. Most non-leather boots will eventually lose their ability to be waterproofed in this way as their fibers bend and separate over time.
We generally recommend waterproofing your tactical boots only if you expect to encounter wet conditions regularly and if your boots are full-grain leather or suede leather. Waterproof tactical boots are also a great option. If your boots are made from other materials that require spray-on protection, that's fine as a temporary solution but, if possible, consider investing in leather or Gore-Tex boots for better long-term performance.
How to Apply or Refresh Waterproofing
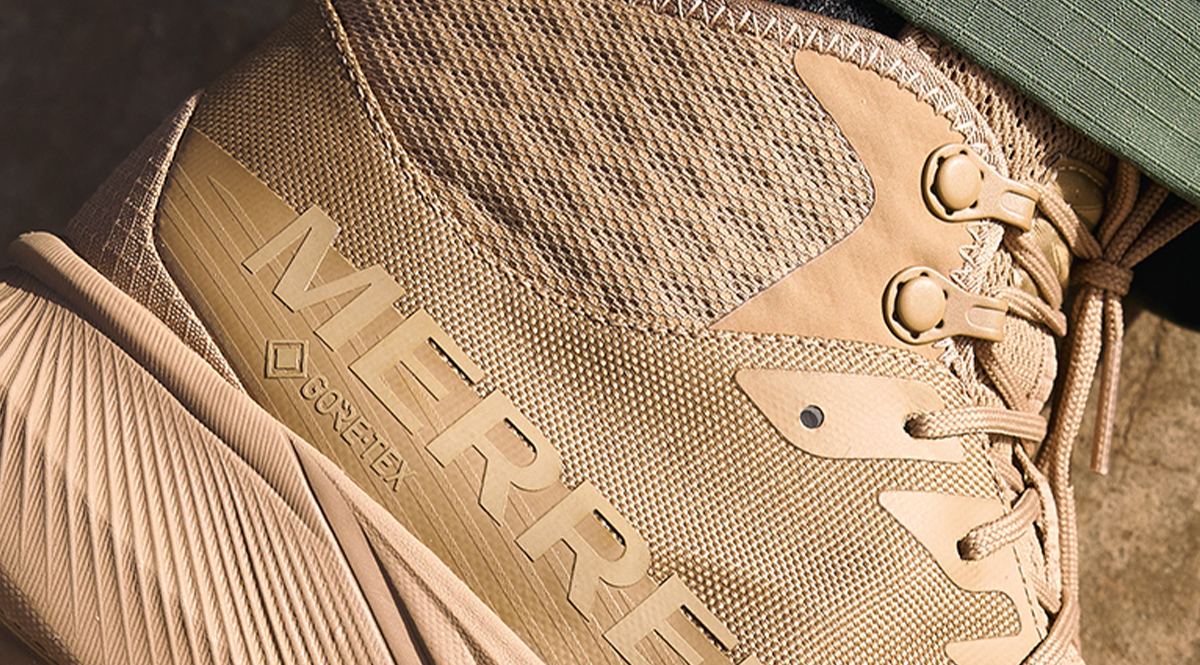
Damaged eyelets can shred your boot laces or cut into the upper itself, causing moderate damage over time. Fortunately, a bent or broken eyelet is usually an easy fix. First, determine whether it can be repaired by examining the front and back closely. The front should be smooth and continuous, with no broken or deformed metal. The "teeth" on the back should be uniform and unbroken. If the only problem is that two or three teeth on the back are bent or pushed out of place, you should be able to gently work them back into position with a pair of flat-nose pliers.
If many teeth are broken, or if the front of the eyelet has major deformation, you'll need to replace the eyelet entirely. For this, you'll need flat-nose pliers, a crimping tool and replacement eyelets of the same size and shape. (You can use a taper gauge to measure the diameter of the lace hole if you aren't sure.) All of these items are inexpensive and useful for many other kinds of repairs.
Once you have the new eyelets, use the pliers to gently bend the teeth of the old eyelet inward until they stand straight up. Once they're all in position, use the pliers on the front side of the eyelet to gently wiggle it back and forth until it comes out. Now, inspect the material around the lace hole itself; if it has only minor damage, you can install the new eyelet right away, but if there's major damage, the boot may need to be repaired by a professional.
To install the new eyelet, simply reverse the process by inserting it from the front and then using the crimping tool to gently push the teeth downward from both sides; this will lock the eyelet firmly in place. Don't squeeze too hard, though, or the teeth may damage the material around the lace hole.
Some eyelets have a second piece: a ring meant to cover the teeth on the back side. These are called "snap fastener" eyelets. This ring snaps together with the interior rim of the eyelet to protect the teeth from further movement or damage. These eyelets are removed and replaced in exactly the same way, with one extra step: You'll need an appropriately sized snap fastener installation tool to squeeze them together.
Sewing and Patching Rips and Tears
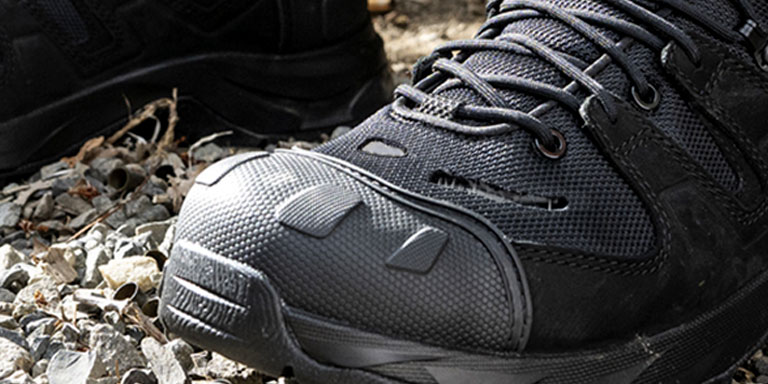
Patching leather boots is generally beyond the abilities of a DIY-er. If your leather tactical boots have holes or rips in the uppers, it's probably best to get an estimate for professional repair or to simply replace the boots.
If the uppers of your tactical boots are made of synthetic fibers, however, it's usually not too difficult to repair small rips and holes yourself. You'll need a heavy-duty sewing needle (size 16 should be about right), extra-strong thread, a few sheets of fusible material, an iron and a patch made of full-grain leather or suede. (These materials likely won't match the color or design of your boots, but they'll be much stronger than a fabric patch.)
First, stuff the boot with newspaper or fabric so that it will hold its shape while you're working on it; this will make it easier to apply the patch. Cut strips of fusible material slightly longer than the hole is wide and use them to frame it loosely on all sides. Cut the patch so that it's about ½" wider than the hole on all sides, then lay it gently on top of the fusible material. Double-check the placement and iron it into place for about ten seconds. Let the patch cool for a few minutes. Then, if the edges aren't yet fully adhered to the boot, apply the iron for another few seconds.
Let the patch fully cool, then remove the newspaper and use a running stitch or backstitch to permanently sew the patch into place. (Be careful not to pass the needle all the way through the material into the inside of the boot; if you do, it will be difficult to resume the stitch, especially if you have big hands.) Once you're done stitching, use a match or lighter to burn away the loose ends of the thread.
How to Replace a Damaged or Delaminated Sole
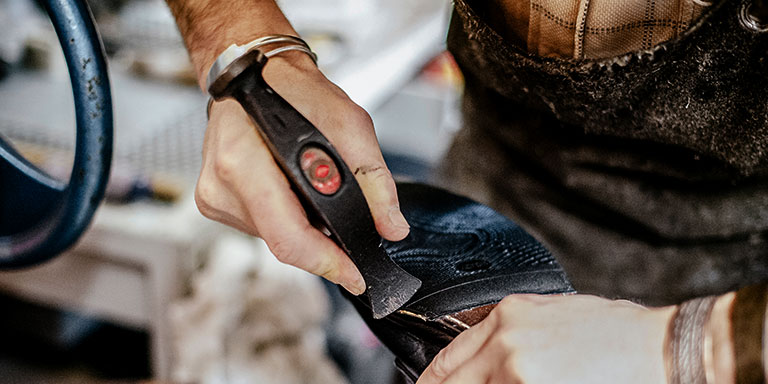
At least in some cases, replacing a damaged or delaminated (separated) sole is easier than you'd think. (We recommend DIY sole replacement only if the original sole is affixed with glue alone. If the sole is sewn or stapled into the upper, professional repair is likely necessary.)
You'll need ultra-high-strength shoe glue labeled "for sole replacement," a hammer, a thin chisel or sharp knife, two towels, replacement soles and several woodworking clamps (or other adjustable clamps of a similar nature). Begin by removing the damaged sole; you can do this by using the knife or chisel to gently cut away the old glue around the outside of the upper. Then, gradually cut away each subsequent layer of glue until the sole begins to detach. Never rip or pull during this process–just keep slowly cutting and gently wiggling until the sole is removed entirely. Be careful not to cut into the upper part of the boot.
Once the old sole is removed, look at it closely. You should be able to see old glue on all of the points where the sole was in contact with the rest of the boot. Generously apply glue to all of the same places on the new sole but take care to avoid large blobs or bubbles. You'll need to work quickly, though, because shoe glue begins to cure soon after it's exposed to air (you should have at least 15 or20 minutes of working time).
Gently set the boot on top of the new sole and wiggle it around in slow, small movements until it "snaps" into place. This sensation can be subtle and easy to miss, so try to feel for it carefully. Visually examine the boot from all sides and ensure that the sole appears to be attached correctly. (One easy way to do this is by lining up the wear marks where the upper meets the sole; if you can see new, unworn material on the upper, the sole is too far toward the opposite side of the boot.) If necessary, you can use the hammer to very gently tap the new sole into place.
Once the new sole is in place, press down firmly on the boot and use the towel or a cotton swab to wipe away any excess glue that seeps out. Then, place the other (clean) towel over the upper and affix one or two clamps around the toe, with the towel between the clamp and the upper to protect the material. Next, set the boot on the floor and place the leg of a table or desk inside it to apply continuous downward pressure near the heel. Finally, do another check for more glue seeping out, and wipe it away as needed. Leave the boot in place for the length of time listed on the glue package (usually between twelve and twenty-four hours). Your newly resoled boots may feel stiff and awkward for the first day or two after the repair, but they should feel normal again soon.
Repairing your own tactical boots is a little more difficult and time-consuming than fixing your tactical pants, but it's still a good way to save money and to learn some transferable skills. However, getting new tactical boots is also an option. As the old saying goes: Never neglect your mattress, your car tires, your boots, or anything else that separates you from the ground. Take care of your tactical boots, and they'll take care of you.