

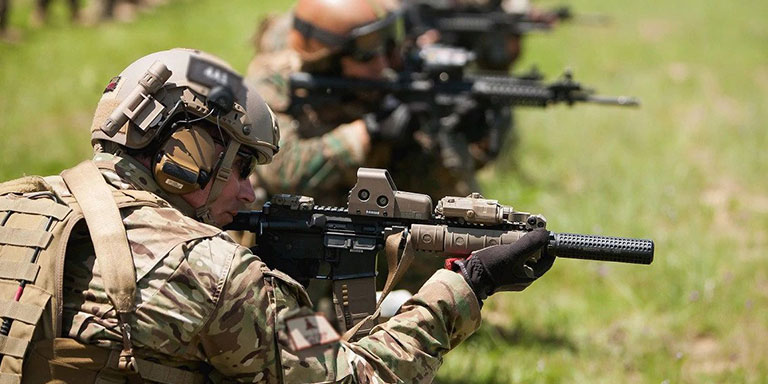
A rifle is only as accurate as its sighting system. The problem, though, is that forcefully bumping or even dropping your weapon can greatly affect an attached sighting system. That’s why it’s important to make sure you know how to zero your rifle. It’s best practice to zero in a rifle's iron signs first. From there, scopes or sight enhancements can greatly improve a shooter's accuracy over longer distances. In this guide, we’ll provide some tips on zeroing your weapon to help you hit your mark every time.
Iron Sights
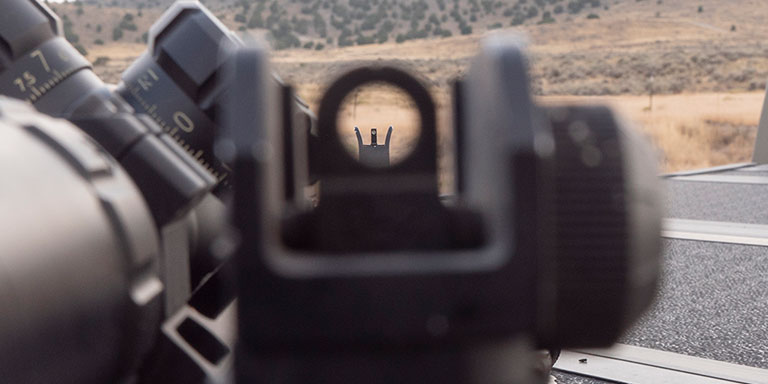
Knowing the parts and functions of your rifle are an important aspect in understanding how to zero it. A rifle’s iron sights are generally its default sighting system. Iron sights have two main components: the rear sight and the front sight. The rear sight usually contains a square, notched cutout or a circular ring, mounted toward the back of the receiver. The front sight is mounted toward the end of the barrel and is usually a thin, round post.
Alignment Methods and Terminology
There are several levels of sight alignment, and each depends on how the shooter plans to use their weapon. A competition shooter or sniper, for example, must utilize the most accurate adjustments, but casual shooters may use alignments that are much simpler (albeit less precise).
When adjusting the elevation or windage of a rifle sight, moving the sight even one degree can have a big impact on accuracy. To allow for more precise calibration, each one of a sight’s 360 degrees is broken down into sixty equal parts. Each sixtieth of a degree called an MOA, or Minute of Angle. Most rifles are zeroed using this standard. For even more precise adjustments, each of these minutes is further divided into sixty parts called SOA, or Seconds of Angle. These extremely fine adjustments are rarely used outside shooting competitions or other special circumstances, but it is important to understand the basic concept.
While MOAs and SOAs are used to make tiny, fine-tuned adjustments in very specific situations, most standard rifles' iron sights are expressed in clicks. An MOA is roughly equal to either four or five clicks at one hundred meters. The rear sight is used to correct the weapon’s point of aim to the left or the right (also known as the windage adjustment). The front sight on most rifles is adjusted to control the elevation of a round.
The Mechanics of Zeroing Iron Sights
Zeroing distances are more important for long-range shooters. Most new shooters, on the other hand, can get excellent results by using a twenty-five meter target. The paper targets used for zeroing are called bullseye targets, and they’re set against a tight grid of small squares. Each square is equal to the length and width of one MOA.
Twenty-Five Meters Stabilized
To start, the target should be set at twenty-five meters away. Next, the shooter should secure the weapon during the test firing to make sure it doesn’t move; a seated bench rest system is optimal. The weapon may either be placed in a vice-type mount on a table or stabilized using sandbags to allow repeated, accurate test rounds to be fired. In the absence of such equipment, the weapon may be secured against a fixed object, such as a post. This is a bit more difficult, though, as the weapon may move slightly between shots.
Test Firing Round Groups
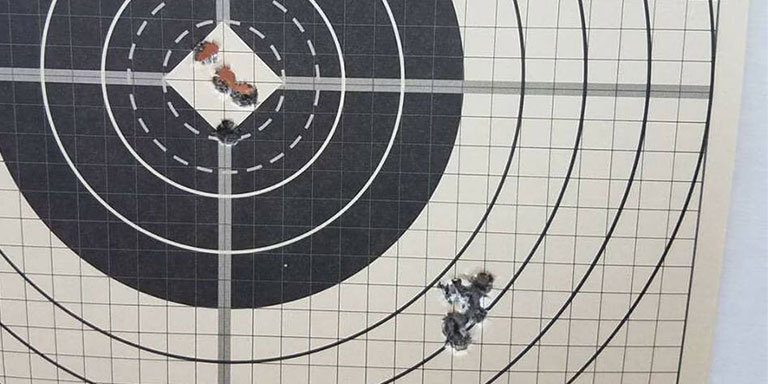
Firing a target group of a few rounds allows the shooter to see where the bullets are hitting in relation to the bullseye. All the rounds should land very close together. If they don’t, it’s likely that the weapon moved, and the test must be repeated. For instance, imagine the test rounds were close together, but they all hit the target two squares above the bullseye and four squares to the right. In this case, adjustments need to be made.
Making Elevation Adjustments
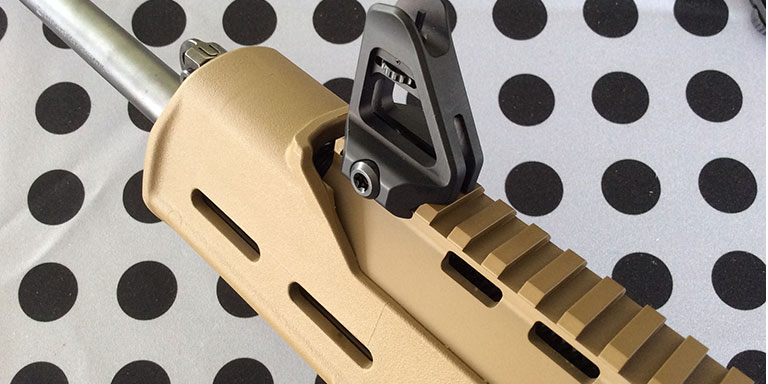
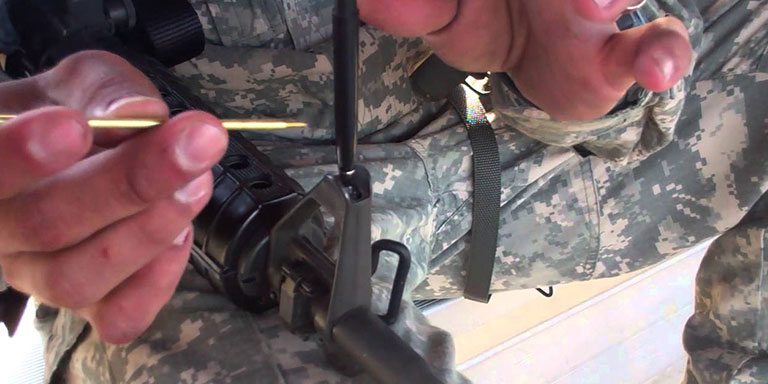
To raise or lower the point of aim, rotate the front post sight. The front post is threaded, and rotation in one direction (clockwise) elevates it, while rotation in the other direction (counterclockwise) lowers it. Most front posts adjust around four or five clicks for each full rotation. Each full rotation equals about one MOA at one hundred meters (though sights tend to vary by manufacturer).
After achieving the correct elevation, the shooter should locate a button called the detent; it’s usually next to the front post. The detent locks the front sight post in place and must be depressed to raise or lower elevation. There are adjustment tools made for pressing the detent, but most shooters just use the tip of a bullet.
Making Windage Adjustments
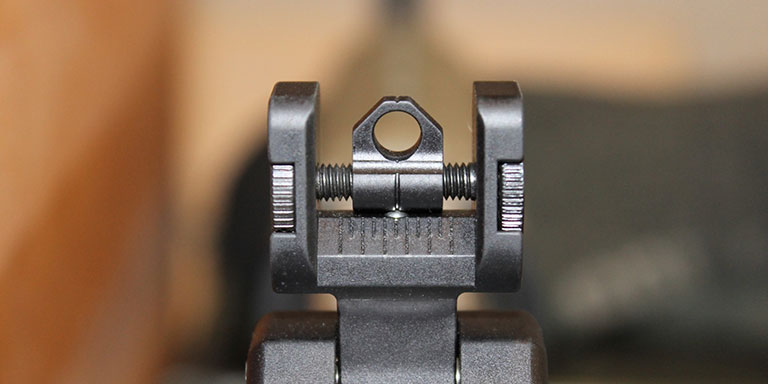
To move the point of aim to the left or right, turn the rear sight adjustment. The easiest method for new shooters is to shoot round groups and make adjustments until the weapon is zeroed. It is possible to do the math and come close to zero with just one or two adjustments. Most shooters make a large adjustment to get close, and then continue to make fine adjustments until they are satisfied with a consistent bullseye.
Once the shooter is satisfied with the zero at twenty-five meters, they should attempt the same shot grouping at fifty meters and then one hundred meters. The greater the distance, the more important it is to completely control the movement of the weapon during test firing. Some shooters end up needing to refine their point of aim at fifty meters, but most will be sufficiently accurate with the twenty-five meter zero.
While some shooters add scopes to their rifles, the iron sights are always in reserve. They’re consistently accurate and can be called upon at any time should a primary sighting system become loose, dislodged or otherwise compromised.
Zeroing a Rifle with a Scope
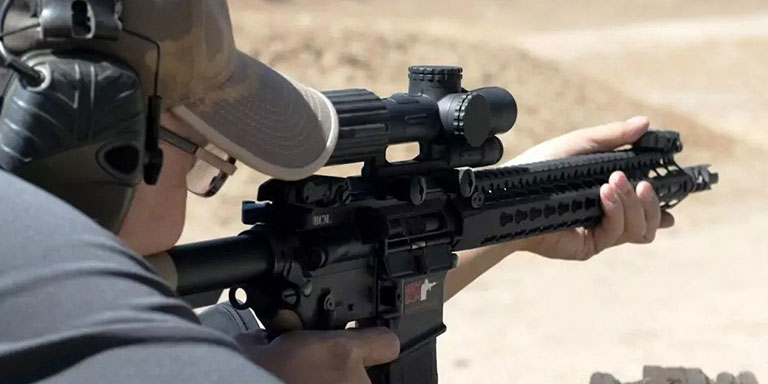
Iron sights are reliable and relatively easy to use, but there are options that provide better precision. A rifle scope increases a shooter’s accuracy by magnifying the target and sight picture. Unlike iron signs, which have to be aligned with the target, a scope allows shooters to place either crosshairs or a dot on the target for easier aim and increased accuracy.
In order to correctly zero a rifle scope, it is essential to secure the scope to the weapon properly. Rifles aren’t manufactured with scopes attached; scopes are an added item that needs to be securely mounted. Many scopes are attached using scope rings in conjunction with either a Weaver or Picatinny rail system. All points of contact between the scope, mounting-rings and rail system must be very secure. Repeated recoil from firing the weapon may loosen the mounting hardware over time. To account for this, shooters should frequently inspect their mounting hardware. If a scope mount needs tightening, the scope itself should be re-zeroed to verify accuracy.
The first step in zeroing a scope is making sure the initial shots end up at least somewhere on the target paper. Start at a distance of twenty-five meters to make things easier. From there, there are three general methods of adjusting a scope.
General Scope Adjustments
Boresighting
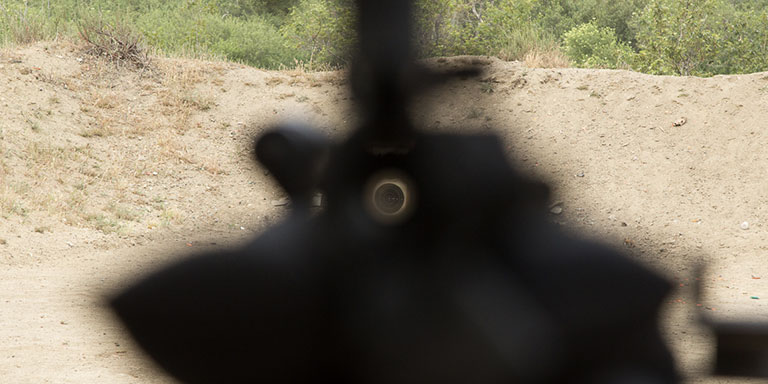
The first scope adjustment method is called boresighting. Most single shot and AR-type rifles can be sighted by eye, with the bolt removed. After removing the bolt, the barrel must be secured to prevent movement. The shooter can then look right through the barrel of the weapon at the target; the barrel should be adjusted to be pointed at the bullseye. Then, the rifle scope is adjusted so the crosshairs also are centered on the target. Boresighting gives the shooter a good starting point for zeroing.
Laser Bore Sight
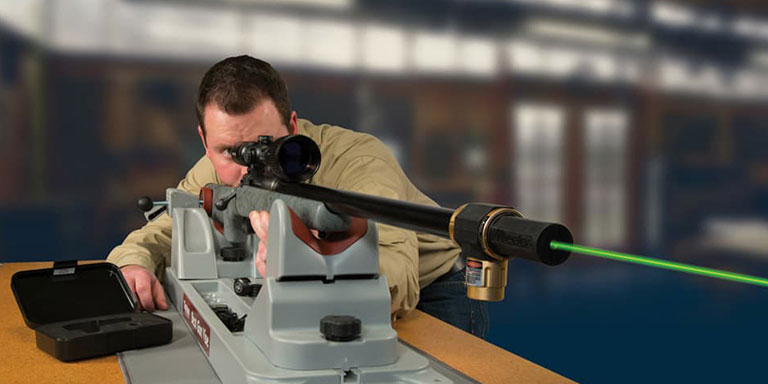
The second method involves using a laser bore sight. A laser bore consists of a laser built into the casing of a rifle shell, in the correct caliber to fit into the gun’s chamber (you can learn more about rifle calibers by reading up on ammo 101). The laser beam shines through and out of the barrel, and should be directed at the center of the target. With the barrel secured against movement, the rifle scope is adjusted so the crosshairs line up with the laser dot.
Iron Sights
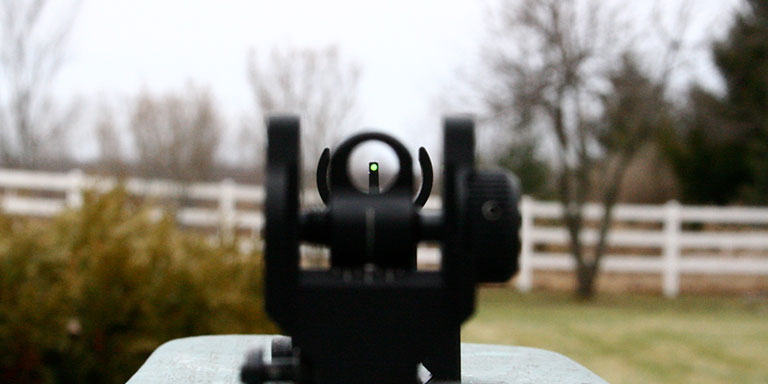
The final scope adjustment method utilizes the weapon’s iron sights. Once the weapon is secured against movement, the shooter aligns the iron signs with the center of the target (provided the iron sights are already zeroed correctly). Then the scope’s crosshairs are adjusted to the center of the target as well.
Any one of these three methods allows a shooter to adjust their scope close enough so that the rounds they fire hit the target. Once rounds are finally landing on the paper, the shooter can make fine adjustments similar to those used in zeroing their iron sights. The main difference is that both the windage and elevation adjustments are located on the rifle scope and are usually delineated as clicks.
Similarly to the iron sights, use a twenty-five meter target and fire a round group with the rifle firmly secured against movement. The rounds should all be close together, providing a clear pattern of where the scope is aimed. Once the shooter determines in what direction the pattern must move to hit the bullseye, the adjustments can be made easily by using the windage and elevation adjustment knobs.
Windage and Elevation Adjustments
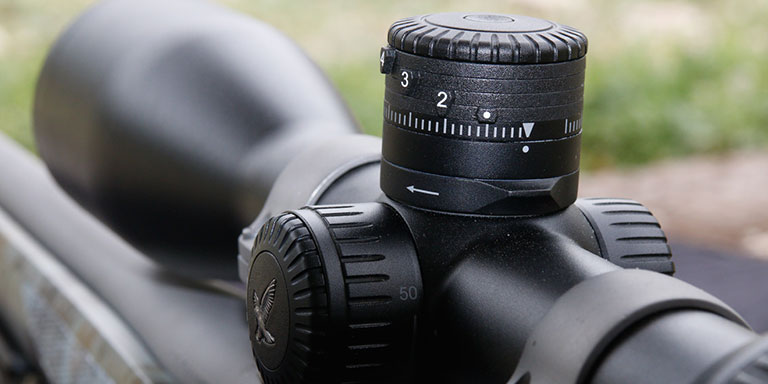
On some scopes, the adjustment mechanisms are concealed by cap covers, which must be unscrewed to gain access. Many scopes have a screw configuration where the shooter has to turn an adjustment knob, similar to the large head of a screw. Many scopes have directional arrows on them. Shooters can usually use the rim of a shell casing to make the needed adjustments.
Once the weapon is zeroed and hitting the bullseye at twenty-five meters, increase the distance to fifty meters and make adjustments as needed. Finally, depending on the power of the scope and its intended purpose, the shooter may increase the distance to one hundred or even several hundred meters.
Each shooter must have a high level of confidence in their weapon. Part of that confidence comes from knowing they have a properly zeroed sighting system. Taking the extra time and effort to dial in the weapon’s accuracy builds trust between the shooter and their weapon. Firing a properly zeroed weapon allows a shooter to know, with a high degree of certainty, exactly where each round will hit. Once you have zeroing down, be sure to read up on shooting drills for beginner marksmen to truly hone your accuracy.