

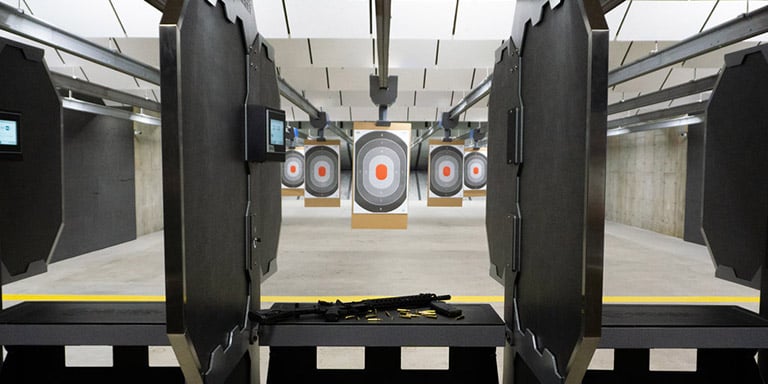
To many beginning and experienced shooters alike, practicing with your firearms means leisurely shooting at stationary targets from various distances at the firing range. This certainly is one helpful way to learn to shoot more accurately, but if you want to push yourself and become an expert shooter, it's only a starting point.
At some point, you've probably heard the phrase "train like you fight." It's a valuable mantra to live by; you'll want to do your best to be prepared for the specific kinds of situations you expect to encounter. In this guide, we'll introduce nine challenging (but not too challenging) shooting drills for beginner marksmen — three each for pistols, shotguns and rifles. We'll also cover clearing malfunctions for each type of firearm.
Most of these exercises can and should be practiced from standing, kneeling, and prone positions. Take them slow and easy at first. Don't rush your shots, and don't worry about rolling around on your back until you're comfortable and confident doing these drills from more natural positions. Move on to timed versions of these drills only when you can hit the target consistently and safely with no time pressure. Speed follows proficiency; slow is smooth, smooth is fast.
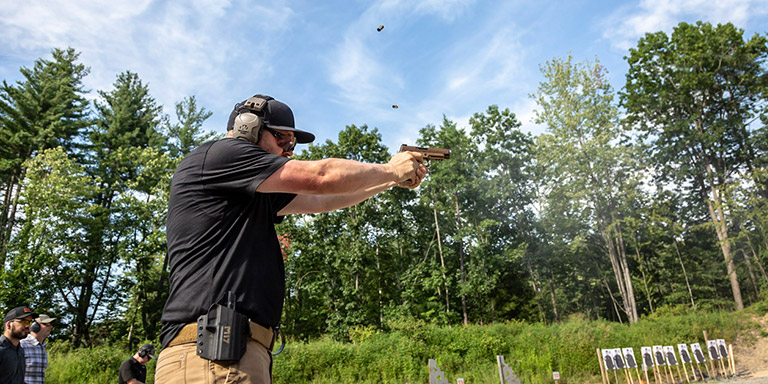
Pistol Drills
Before attempting any of these drills, be sure to familiarize yourself with the parts and functions of your handgun.
All of these pistol drills can be practiced with either a semi-automatic or a revolver, but for simplicity, we'll assume you're using a semi-automatic. If you're using a revolver, swap "speedloaders" in for "magazines"and make other substitutions as appropriate.
5x5 Accuracy Drill
For this exercise, you'll need an 8.5" x 11" (or larger) sheet of paper. On it, print twenty-five 1" circles spaced ½" apart in a 5x5 grid, or draw them by tracing a quarter with a marker. Mount the target 3 yards away and load two magazines with five rounds each.
Load one five-round magazine and begin in the low ready or compressed ready position.
Aim and fire two shots at the center of the first (top left) circle. Fire slowly and carefully.
Move to the next circle in the row and fire twice more.
Fire your last round at the third circle, reload, and fire once more.
Fire two more shots each at the fourth and fifth circles in the top row.
Reload your magazines and repeat the sequence for the remaining four rows. Try to aim, fire, and reload slightly faster in each subsequent row, but don't time yourself yet, and don't sacrifice accuracy for speed.
Shots must be completely within the 1" circles to count as hits.
When you can consistently hit all fifty shots at 3 yards, move the target back to 4 yards, then 5, so on and so forth.
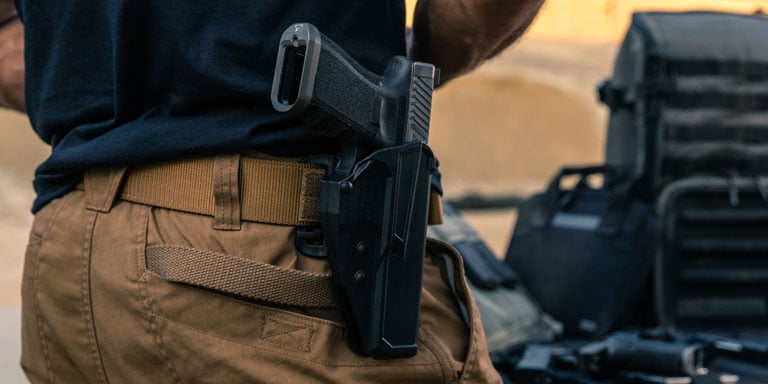
Holstered Mozambique Drill with Emergency Reloads
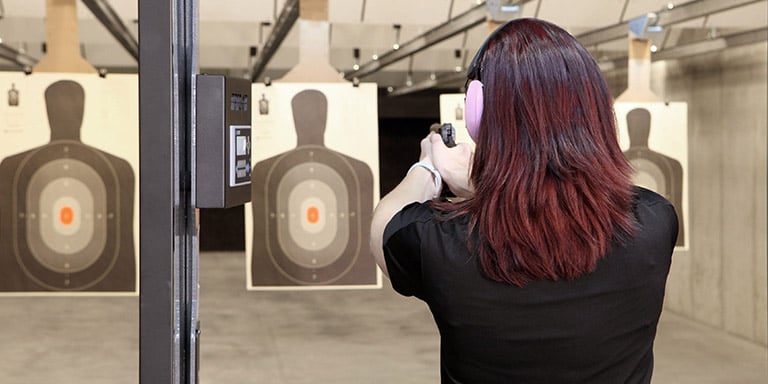
For this drill, any vaguely humanoid silhouette target will do. Begin at a distance of 5 yards.
Randomly load four different magazines with two to four rounds each. When done, shuffle them such that you can't tell which is which, or have a partner load and shuffle them for you. Load one magazine at random, chamber a round, holster your weapon and store the other three on your belt or on the bench in front of you.
When ready, draw and fire two shots at the torso area of the target, then briefly pause and fire a third shot at the head. If you run empty before firing all three shots, perform an emergency reload and fire the remaining shots. Do not anticipate the reloads; focus on maintaining good two-handed shooting fundamentals until the potential need to reload becomes an actual need.
Exercise extreme care when doing live-fire holster drills. If you have little or no experience drawing and quickly firing a loaded weapon, do so with exaggerated slowness at first. Maintain excellent trigger discipline and muzzle awareness all the way through the draw motion until you are fully extended and ready to fire. Worry about drawing and firing quickly only after many safe and successful repetitions at slow speeds.
When you can quickly draw and fire two rounds to the torso and one to the head, reloading quickly as needed, then move the target farther downrange and/or move on to timed drills.
Partner-Assisted Multiple Target Drill with Reloads
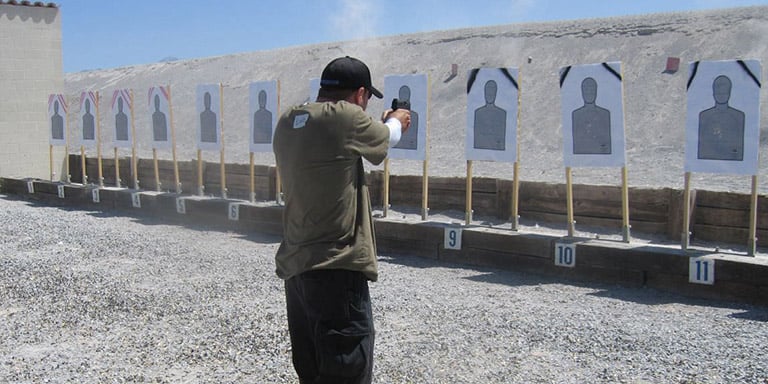
For this drill, position five human silhouette targets at various distances from 3 to 10 yards, within a cone of about 90 degrees. Number each target sequentially from left to right (for advanced versions of this drill, mix up the numbers).
Randomly load four different magazines with two to six rounds each. Load exactly fifteen rounds between all four magazines. When done, shuffle them such that you can't tell which is which, or have your partner load and shuffle them for you. Load one magazine at random, chamber a round, holster your weapon and store the other three on your belt or on the bench in front of you.
Wait for your partner to call a number. Draw and fire two shots at the torso of the corresponding target, then one to the head. If you run empty before firing all three shots, perform an emergency reload and fire the remaining shots. Do not anticipate the reloads; focus on maintaining good two-handed shooting fundamentals until the potential need to reload becomes an actual need.
Exercise extreme care when doing live-fire holster drills. If you have little or no experience drawing and quickly firing a loaded weapon, do so with exaggerated slowness at first. Maintain excellent trigger discipline and muzzle awareness all the way through the draw motion until you are fully extended and ready to fire. Worry about drawing and firing quickly only after many safe and successful repetitions at slow speeds.
Once you've fired the final shot at the target's head, your partner will call a different number. Engage that target in the same manner, reloading as necessary. Do not re-holster your weapon between targets.
If your partner calls "reload" in between target engagements, perform an emergency reload if your current magazine is empty. Perform a tactical reload (retain the partially spent magazine) if your current magazine has rounds remaining.
The drill concludes successfully once you've fired all fifteen rounds, three at each of the five targets, with ten clear body hits and five clear head hits.
For advanced versions of this drill, vary the number and position of targets, vary the number of rounds in each magazine, and/or race against the clock.
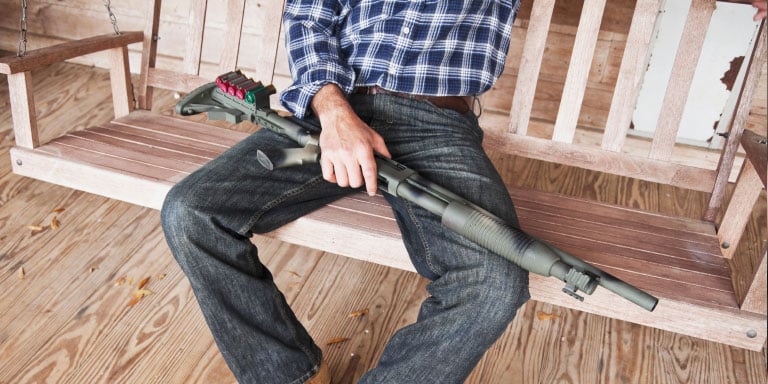
Shotgun Drills
Before attempting any of these drills, be sure to familiarize yourself with the parts and functions of your shotgun.
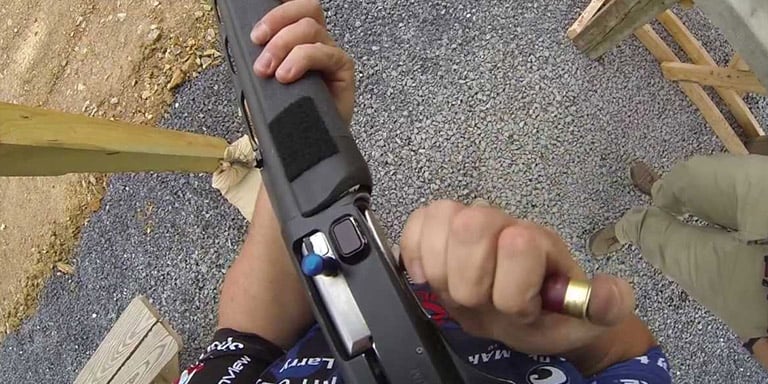
Without a doubt, quickly and precisely loading a tube magazine is the hardest part of mastering pump shotguns. Because loading shells individually is so much slower than replacing a magazine, you'll want to master techniques that minimize downtime. And because pump-action shotguns are the most common by far, these drills will assume you're using one.
Weak and Strong-Hand Loading
You can load shells with either your strong (trigger) hand or your weak (non-trigger) hand. Each has its pros and cons.
Strong-hand Loading
Strong-hand loading is often faster and easier at first, particularly for those who don't have a lot of strength in their hands and wrists.
For shotguns with a buttstock, assume a traditional firing stance. With your weak hand, rotate the shotgun 90 degrees and lay the buttstock flat on your strong-side shoulder such that the ejection port faces away from you. Support it with your weak hand on the foregrip and use your strong hand to load shells into the tube, one at a time. Practice regularly until you can load quickly and reliably.
Weak-hand Loading
Weak-hand loading is more difficult but can further reduce downtime once you get the hang of it.
From a regular firing stance, move the buttstock slightly lower on your shoulder or tuck it under your strong arm for extra support. Load shells with your weak hand without further altering your firing stance or your shooting grip, except to move your finger away from the trigger.
Once you get faster at both weak and strong-hand loading, practice switching between them. Situations may arise in which one method or the other is undesirable, so it's helpful to be comfortable with both.
"Open and Shut" Loading
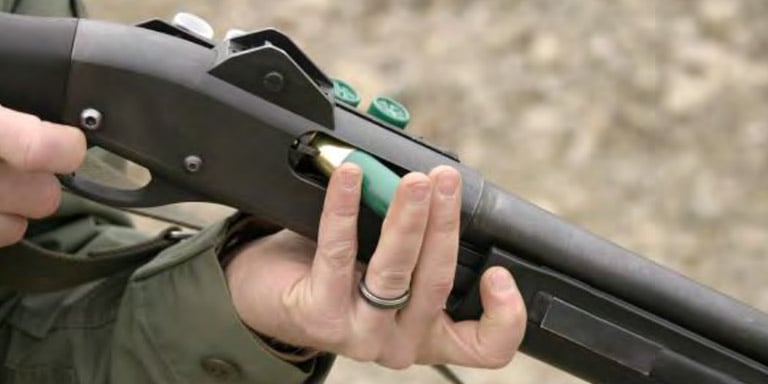
The "open and shut" loading method (or "combat loading") is another, slightly more advanced method of reloading to minimize the amount of time that you spend unable to fire your shotgun.
Using Snap Caps or dummy shells, load a single shell into the chamber and close it. Assume a firing stance and retract the foregrip to eject the shell you just loaded as though you had fired it. Rather than completing the pump, leave the foregrip retracted and the bolt open.
Release your grip on the shotgun with your support hand, but don't change your grip with your shooting hand in any way, except to move your finger away from the trigger.
If the shotgun has a buttstock, you can tuck it under your strong arm if it's difficult to support the weapon's entire weight with your wrist.
With your weak hand, grasp a single shell and hold it in your palm, perpendicular to your fingers, with the brass neck toward your pinky. Curl your fingers slightly to hold the shell in place.
In a single motion and without moving your weak hand in front of the muzzle, bring it under the loading port and gently "slap" the shell directly into the open ejection port.
Continuing the same fluid motion, move your weak hand to the foregrip and rack it firmly forward, chambering the shell.
From here, load shells into the tube with your weak hand as normal. The weapon is ready to fire if you must interrupt your reloading.
Once you can do this fluidly and quickly, practice it on the range with live ammunition.
Double and Quad-Loading
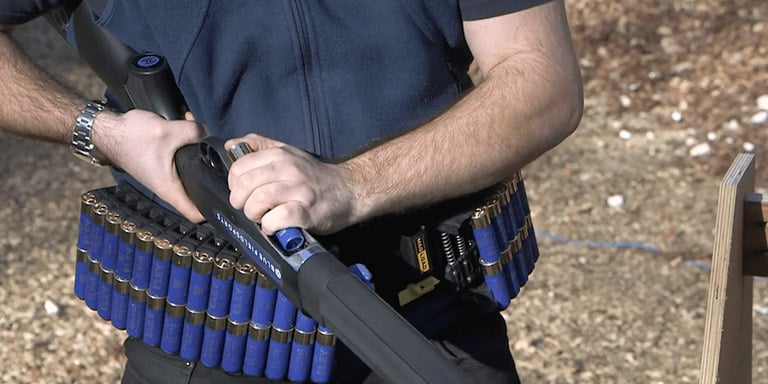
Mastering these techniques takes significant practice but will dramatically increase your loading speed. Both will be much easier if you purchase specialized quad-load shotshell holders. Once you master the basic technique using the holders, you'll find it much easier to do with loose shells.
For shotguns with a buttstock, assume a traditional firing stance. With your weak hand, rotate the shotgun 90 degrees and lay the buttstock flat on your strong-side shoulder such that the ejection port faces away from you. Support it with your weak hand on the foregrip.
Instead of grasping a single shell, use your strong hand to pick up two shells stacked "on top" of one another, with the crimp of one pressed firmly against the primer of the other. Cover the exposed primer with your thumb and let the exposed crimp protrude outside your hand by 1—2".
Insert the exposed crimp into the loading port at an angle of about 30 degrees, slightly uncurling your fingers as the elevator moves out of the way.
Once the first shell starts to enter the tube, open your hand the rest of the way and push firmly with your thumb, sliding both shells into the tube with one motion.
When you feel ready, practice "quad-loading" by holding four shells in your strong hand, stacked two by two. Load the pair closest to the heel of your hand first while holding the other two firmly in your curled fingers, then load the second pair as described in steps 3—4 above.
It takes a lot of practice for double and quad-loading to start feeling fluid and comfortable. Don't get discouraged!
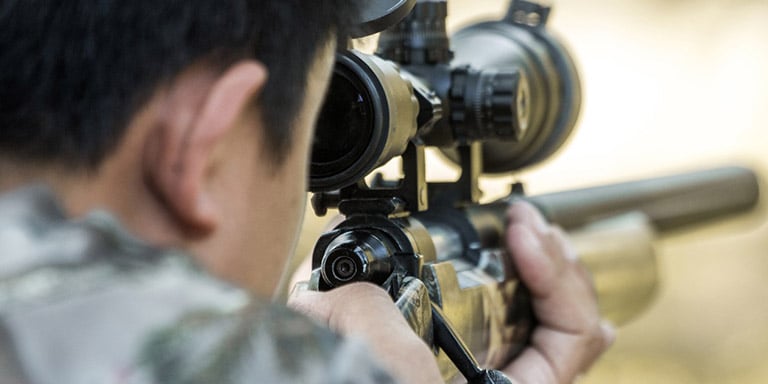
Rifle Drills
Before attempting any of these drills, be sure to familiarize yourself with the parts and functions of your rifle.
These exercises assume that you're using a semi-automatic rifle but can easily be adapted for bolt-action rifles as well.
100-Point Drill
Set up ten 2" circular targets at 50 yards and assume an unsupported prone position at the firing line.
Focus on the basic fundamentals of marksmanship — breathing, sight picture, grip, trigger squeeze and follow-through. Fire one shot at each of the ten targets. Each hit is worth ten points, and the goal is to score 100 points within one minute. Subtract ten points for every miss and one point for every second over sixty.
Once you can reliably complete this drill with no misses, move the targets out to 100 yards, then 150, etc. Alternatively, use the same scoring system with progressively shorter time limits.
100-Point Drill Variant
Once you get the hang of the 100-point drill above, set up three 5.5" circular targets, one each at 100, 200, and 300 yards. Although this may seem like essentially the same drill as the one above, it's notably more difficult because you'll have to manually adjust for bullet drop at significantly different distances.
Fire one shot at the 100-yard target, two at the 200-yard target, three at the 300-yard target, and finally, four shots at the 100-yard target. Each clean hit is worth ten points, and the goal is to score 100 points within thirty seconds. Subtract ten points for every miss and one point for every second over sixty.
When you can hit all ten shots without missing within the time limit, vary the range of each target and/or gradually shorten the time limit.
"Random Magazine" Drills

When you've gotten good at both versions of the 100-point drill above, take it to the next level by splitting your ten allotted rounds between three magazines. Better yet, have a partner load a random number of rounds into each magazine without telling you how many are in each (the total should always be ten). Complete the 100-point drills within their time limits while reloading each time you empty a magazine. This forces you to periodically break your sight picture and quickly reacquire the target after reloading, which is especially challenging when the targets are at different distances.
Clearing Pistol and Rifle Malfunctions
For this drill, you will be using Snap Caps, not live ammunition. Clear all live ammunition from the practice area and have a partner verify that every round you'll be using is a dummy round. This exercise is not applicable to revolvers or bolt-action rifles. For semi-automatic rifles, replace instances of "slide" with "bolt."
Tap, Rack, Bang
Practice "tap, rack, bang," the standard and most common method of clearing malfunctions in magazine-fed firearms. If your weapon fails to fire when you were expecting it to, "tap, rack, bang" before attempting to diagnose the problem. This method clears most malfunctions and should become an immediate and instinctual response when your weapon fails to fire. You should stop to investigate the malfunction only when "tap, rack, bang" fails to fix the problem.
Tap upward on the magazine to ensure it is fully seated.
Rack the slide (or retract the bolt) firmly and decisively.
Attempt to fire.
SPORTS
For rifles with forward assist mechanisms, use the acronym SPORTS.
Slap upward on the magazine to ensure that it's seated.
Pull the bolt to the rear.
Observe the chamber to ensure that it's now empty.
Release the bolt.
Tap the forward assist.
Squeeze the trigger (the weapon should now fire).
Stovepipes
Simulate a "stovepipe" malfunction by ejecting the magazine, manually loading a round into the chamber and placing an empty casing or round into the ejection port such that it partly protrudes. Then, release the slide and reinsert the magazine. The partly ejected round will prevent the slide/bolt from closing.
To clear this malfunction, bring your support hand to the ejection port but do not pass it in front of the muzzle. With a flat hand, sharply sweep the stuck casing out of the ejection port in a rearward motion. Push the slide forward into the battery or charge the bolt if necessary, then attempt to fire.
NOTE: Do not pull the slide to the rear in response to a stovepipe malfunction. This is likely to cause a double feed, which is even more time-consuming to clear.
Double Feed
Simulate a double feed by locking the slide to the rear, placing a round in the chamber, inserting a loaded magazine, and releasing the slide. It will jam when it attempts to load a round into the already-loaded breech. This type of malfunction happens when a semi-automatic pistol or rifle fails to extract and eject an empty casing, whereafter the next round can't be loaded because the casing remains in the barrel. "Lock, drop, rack, look, load, rack" to clear this malfunction.
Lock the slide to the rear.
Drop (and retain) the magazine.
Rack the slide twice, firmly and decisively. One, possibly two rounds should eject.
Look at the chamber while holding the slide open to ensure that it is empty.
Load the magazine.
Rack the slide and attempt to fire.
Clearing Shotgun Malfunctions
The three basic types of shotgun malfunctions (failure to eject, stovepipe, and failure to extract) are roughly analogous to the two most common types of pistol and rifle malfunctions, but the methods for fixing them are somewhat different.
Failure to Eject
The most common type of shotgun malfunction is, fortunately, the easiest to fix. If an empty shell is successfully extracted from the chamber but doesn't eject from the loading port, it's most likely because you "short stroked" the pump (that is, you didn't move the forearm all the way to the rear with sufficient force). To fix this problem, simply tilt the ejection port toward the ground and let the empty shell fall out. Never be afraid to forcefully work the action — the gun can take it!
Stovepipe
This problem is fixed essentially the same way as it is for pistols and rifles. Open the action all the way, then flatten your support hand and sweep it quickly and firmly along the bottom of the weapon and across the ejection port. This should be enough to dislodge the stuck shell. Then, close the action and resume firing.
Failure to Extract
This is the least common shotgun malfunction, but it's also the most serious. If there's a shell stuck in the chamber that won't dislodge when you attempt to work the action, it will take several seconds and some brute force to get it out.
First, try racking the pump forward, then backward as hard as you can. This gives the extractor another chance to grip the stuck shell and extract it properly.
If that doesn't work, do the next step very carefully. Depress the action release with your weak hand and strike the buttstock hard against the ground while simultaneously pulling the foregrip rearward with your strong hand. Never practice this with live ammunition, as the muzzle will be pointed skyward (be sure to angle it away from your face as much as possible). Use this technique with live ammunition only in life-or-death situations wherein you need your shotgun back in action as quickly as possible.
To fix a failure to extract on the range, lay the gun on the bench with the muzzle pointed downrange and carefully use pliers to extract the stuck shell.
Practice Makes Perfect
Although some of these drills might seem too advanced to be called beginner-level, most of them are, technically speaking, not especially difficult. Even those that are trickier, like shotgun speed-loading drills, are excellent for beginners to practice because the problems they're designed to overcome are the problems most likely to frustrate (or even endanger) beginning marksmen. For other critically important information for novice shooters, be sure to learn about firearm safety on and off the range and errors common to new shooters.
Did you find this article helpful?
Related Articles
-

Second Amendment Sanctuary Reviewed: Every U.S. State and County
We cover the basics of Second Amendment sanctuary and detail the sanctuary status of every state and county, nationwide.
Regulations
184 others found this helpful -
Why You Should Use a Shotgun for Home Defense
Looking for the perfect home defense weapon? Here’s our case for picking a shotgun as your weapon of choice.
157 others found this helpful -
Handgun Basics: Identifying parts and functions
Get a better understanding of handguns by learning to identify parts and functions both revolvers and semi-automatics.
146 others found this helpful -
How to Choose a Gun Holster
Choosing a holster is no easy task. From retention methods to material, we'll help you find the right one for your gun.
Buyer's Guides
136 others found this helpful -
Ammo 101
Choosing ammo can be overwhelming, so we laid out the basics regarding the most common types of ammunition available.
Buyer's Guides
110 others found this helpful -
How to Understand and Calculate Minute of Angle (MOA)
In this guide, we'll cover minute of angle calculations and adjustments, and how to use them to up your accuracy on the range.
Skills
105 others found this helpful
