

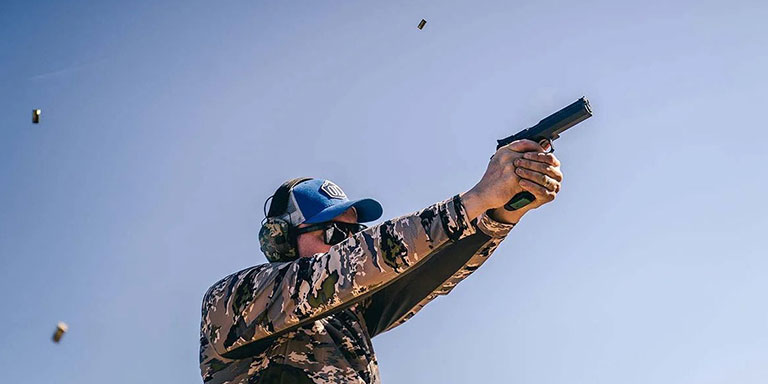
One of the most challenging and misunderstood parts of shooting is overcoming the tendency to flinch when the gun fires. We've all done it. It happens to some of the best shooters in the world, and it's highly prevalent among everyday shooters. The gun is on target, the sights are aligned, the stance looks good, the trigger is pulled and the gun fires — but the hole is too low on the target.
How did that happen? It seems like you did everything right. Yet you missed the mark. Something is amiss — but what is it?
To better diagnose potential causes, let's start by understanding the basics of how shooting a gun works. Not how the gun fires (hammer, firing pin, primer, etc.), but how we, as human beings, cooperate with the firearm itself.
Diagnosing the Issue
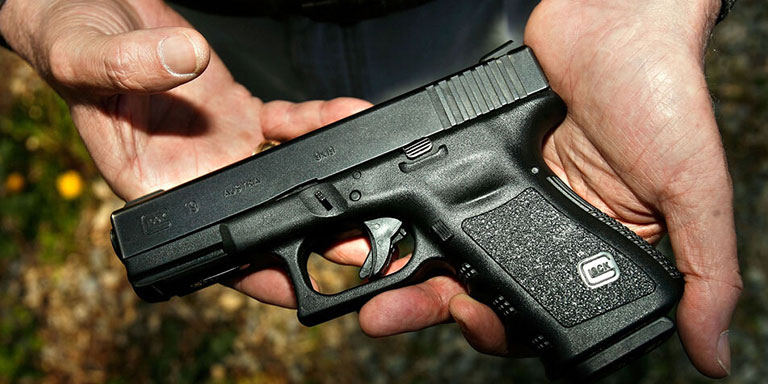
When you drop a shot, it's easy to blame the gun. But that’s sort of like blaming the clubs in golf; it's probably not the driver's fault that the ball ended up in the woods. In 99.9% of cases, a missed shot happens because the shooter did something wrong. Understand that missing a shot isn’t always about fixing the gun, realigning the sites, or re-zeroing the red dot. It's usually about diagnosing and fixing what the shooter is doing wrong to misalign the gun when the bullet leaves the barrel.
Head Games
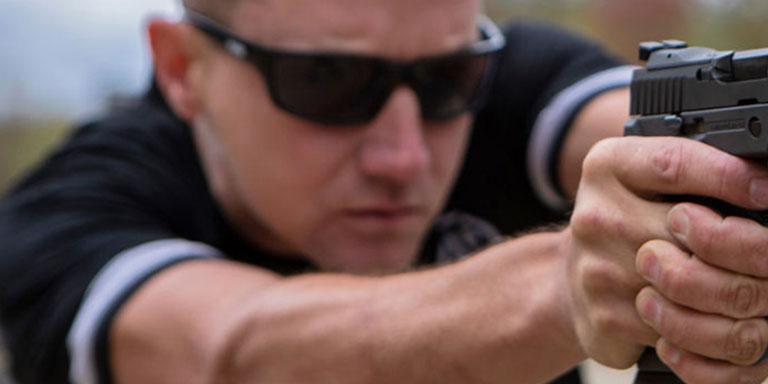
One of the most common reasons for flinching is not a mechanical or physiological issue, but a mental one: overthinking it. Many first-time shooters will hit the bullseye with their very first shot because they don't know what to expect. They aim the gun, pull the trigger, and a hole magically appears in the middle — simple as that. Then they begin to sabotage their own efforts by starting to overthink what they are doing because they felt the recoil, saw the gun buck, and heard the blast's concussion. And it scared them a bit.
Then they shoot again, and the next shot lands low. Unfortunately, this happens all too frequently to new shooters. To offset their newfound fear of recoil, they will push the gun subtly forward the moment the shot breaks to reduce the unpleasant kick. Sometimes called "helping the gun," this forward push is slight, but enough to misalign the sights and drop the nose of the gun below the intended spot on the target. Essentially, they spent all that time lining up the sights on target only to upset the aiming point by dropping the nose of the gun right as it fires, throwing the shot low.
As common as this issue is, it can all be overcome. Below are some ways not only to build confidence when shooting, but also to build a mechanical interface with the gun to reduce the chance of flinching.
Get a Grip
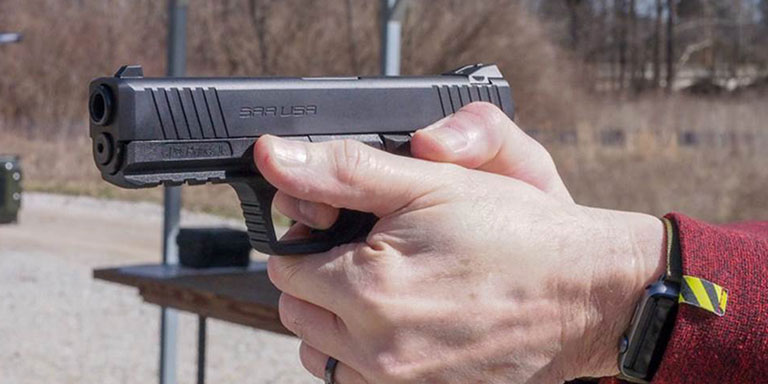
The tendency to flinch can be countered by the way you hold the gun. When building a house, you need a foundation. Likewise, when building a proper grip on your firearm, you also need a foundation constructed to steady the gun as much as possible. In this case, you're building a lever.
Think back to high school physics class: for every action, there is an equal and opposite reaction. In the case of firearms, when a gun fires and the bullet flies out of the muzzle, the same amount of force required to fire the bullet also comes back toward the shooter. This force causes recoil, helping the slide to cycle through, but also forcing the gun back toward the shooter. To counteract flinching, it’s important to learn how to anticipate and control recoil.
By building a proper grip, your hands and arms help mitigate as much of the recoil as possible, making the shooting experience more comfortable and enjoyable while improving your ability to place follow-up shots on target (because you're not chasing your gun up and down too far).
Let's assume you're a right-handed shooter (for lefties, everything is reversed). First, grip the gun so that the web of your hand between your thumb and forefinger is as high as possible against the curve toward the top of the back side of the weapon’s grip (this curve is known as a "beavertail"). By doing this, you create a high fulcrum for the lever, reducing the rise after each shot, assuring better overall control of the first shot and every subsequent shot.
Your trigger finger should now be lying along the side of the slide or frame, away from the trigger, and the other three fingers can then wrap around the front of the grip, with your middle finger touching the bottom of the trigger guard.
To add your left hand, place the butt of the palm in the void spot on the grip so that your hand feels the grip texture. Now wrap your fingers around the right-hand fingers so that the left index finger touches the bottom of the trigger guard.
Notice that we left out two digits: both thumbs. What do you do with those? If you have built your grip properly, your thumbs should be sitting side by side, both pointing slightly forward. This is called the "thumbs forward" grip. Its biggest benefit is the amount of control it gives the shooter over the gun: no other grip affords a shooter this much balance and recoil management. If you have not tried this grip or it is not a grip you use regularly, try switching to it full-time. You should immediately see an improvement in your shooting.
Trigger Control
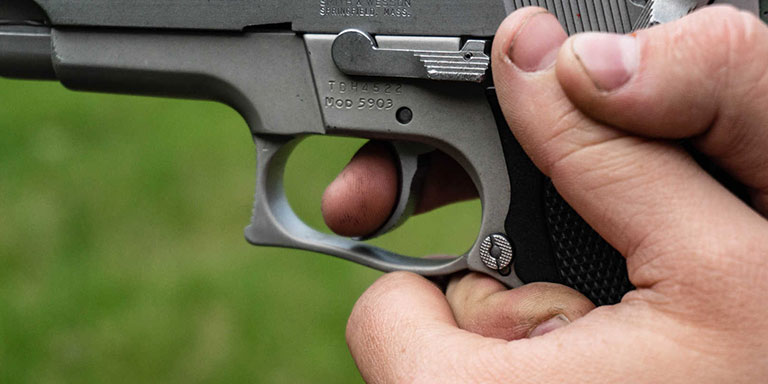
Shooters have long debated the terms "trigger pull" and "trigger squeeze" and the difference in motion between the two. "Trigger pull" is a generic term describing the motion of using your finger to move the trigger backward to fire the gun. Unfortunately, due to its lack of specificity, "trigger pull" is sometimes insufficient to describe the interaction between the trigger finger and the trigger itself.
On the other hand, "trigger squeeze" is a specific movement that more closely mimics the motion of making a fist or shaking someone's hand. This smooth, consistent motion minimizes the gun barrel's up and down movement, helping it to stay on target through the shooting process. A proper trigger squeeze can help with recoil management and anticipation which, in turn, can help with flinching.
Step Down a Notch
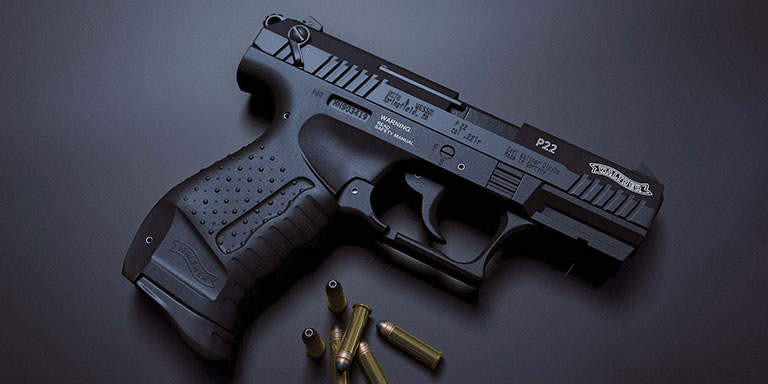
One of the best ways to work on grip, trigger control, and the mental game of avoiding flinching is to start with a lighter caliber, like a .22LR pistol. Larger handgun calibers, such as 9mm, 10mm, .40, and .45, kick much more than a .22LR, yet the guns themselves work the same way. So if you want to practice the fundamentals without worrying about significant recoil, step down to a .22LR. Every gun owner should own a .22LR semi-automatic pistol for this purpose (and because it's a fun gun to shoot!).
By working on all the fundamentals with a smaller caliber, you can focus on shooting mechanics and then translate them back to the bigger guns when you're ready.
Dry Firing
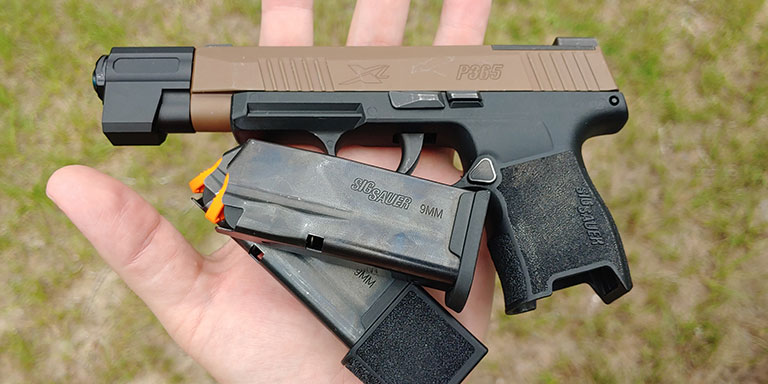
With the rise in ammunition prices and our ever busier schedules nowadays, how is it possible to work on shooting fundamentals and not spend much money? One solution is dry firing. To do this, you'll need to be sure your gun is completely empty (magazines too), and that there is no ammunition anywhere nearby that might accidentally find its way into the gun. The best practice is to remove all ammunition from the room. Don't have any rounds anywhere close by.
Aside from .22LR handguns, almost all other handguns can be dry fired without the risk of damaging the firing mechanism or chamber. So don't worry about breaking your gun by dry firing it.
Once you have cleared the gun and the room of all ammunition, practice your grip and trigger squeeze. Remember that the same four gun safety rules that apply on the range also apply to dry firing. Be sure you are aiming your gun in a safe direction just in case something happens by mistake; a basement with a concrete wall is a great place to practice.
As you practice the grip and trigger squeeze, pay special attention to how the gun moves. For example, are you pulling the gun down at the moment the trigger would have fired? In that case, work on your trigger squeeze motion until it is smoother and the gun doesn't move. Check out our guide to the basics of dry firing a weapon for more tips on dry firing.
Brass Drill
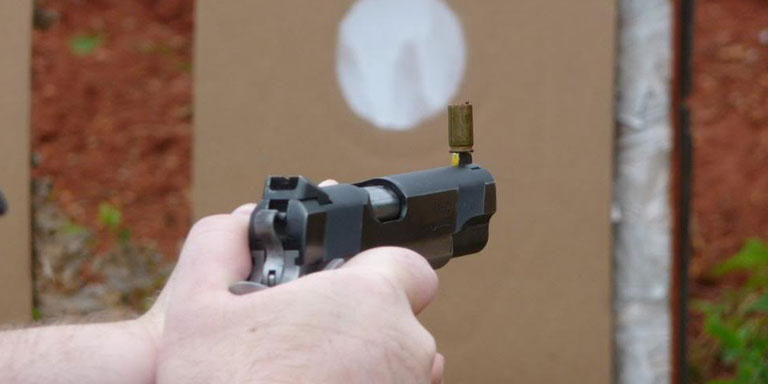
Want to up the ante? Grab either a spent casing (NOT live ammo) or a dummy round, raise the gun as if you're going to fire, and set the casing or dummy round on the slide near the front sight. Now pull the trigger. Did the casing wiggle? Did it fall off? If the answer is yes to either, work on the fundamentals some more. Is your grip solid? Did you squeeze the trigger correctly? The brass drill can be very humbling and revealing.
Now take it up a notch. Once you have mastered the casing or dummy round on the slide, increase the challenge by placing it on top of the sight. If you manage to master this version of the drill too, that’s a sign that your fundamentals are rock-solid.
Live Fire Drills
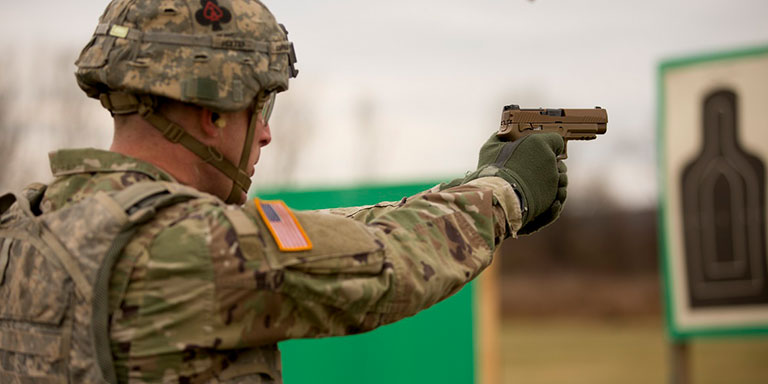
Here are a few ideas to help you control your flinching while shooting at the range. The first is to imagine that you have a spear poking out of the muzzle and ending an inch from your target. Now, imagine you will poke a hole in the target right along your sight line. Then, as you squeeze the trigger, keep the imaginary spear lined up perfectly with the target and see how close to your original aim point your bullet lands.
Sometimes moving from one target to the next can help with flinching. Grab a target with multiple spots on it. As you practice, move from target to target in a continuous shot pattern; don't stop between shots. This transition drill will help you focus on keeping the gun up because you know you have to shoot another target before you can bring it down.
Speed is critical when ridding yourself of a flinch. Start slowly, practicing very deliberately. Each shot should come as a result of a careful thought process and trigger squeeze. Then pick the pace a bit until you feel comfortable and see results at a higher speed. If you are going too fast, slow it down and build back up. There are plenty more beginner shooting drills that should help you get the hang of controlling your flinching.
Just like milk, shooting skills are perishable. If you don't use them, you'll lose them. Good shooting requires consistent practice. Slacking off will diminish your ability to shoot tight groupings and not flinch. Practice the mechanical and mental aspects of shooting regularly to keep up your skills, and before you know it, you’ll ditch the flinch.