

Proper preventative maintenance is essential to keep your firearms in top shape. Cleaning and inspecting your guns after every trip to the range is a good habit to get into, as is lightly cleaning all of your guns every six months or so. Ideally, you should clean your firearms within 24 hours of firing them. Dirt, grime and gunpowder that isn't cleaned will harden into a film of carbon that is much harder to remove and can even make your weapons unsafe to operate.
Basic Safety Measures

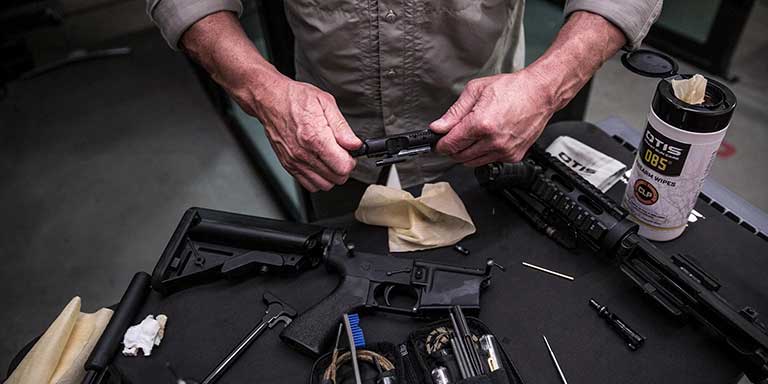
As always, make absolutely certain your firearm is unloaded before handling it. Choose a well-lit, well-ventilated area for cleaning and remove all ammunition from your workspace. Turn off the TV and limit other distractions, at least while your firearms are assembled and capable of firing. Once it's completely safe to do so, go ahead and disassemble your weapon for cleaning according to the instructions in the owner's manual. It's rarely necessary to completely disassemble your firearm. For rifles, shotguns, and handguns, a field stripping will do, and revolvers usually don't need to be disassembled at all for routine cleaning.
Types and Uses of Cleaning Agents
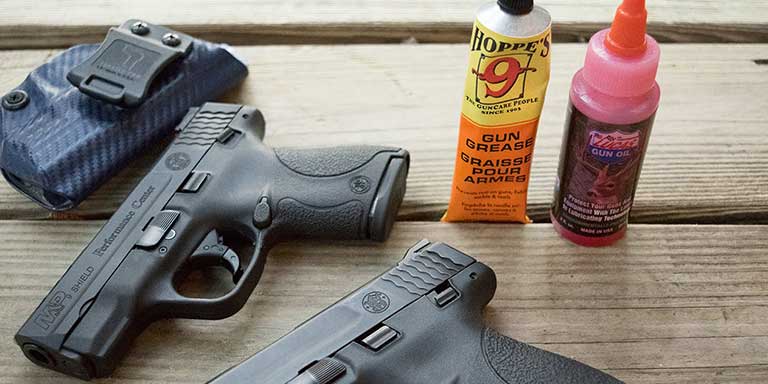
Broadly speaking, there are three types of chemicals you'll use to clean your firearm: cleaning agents, lubricants, and protectants. Each has its own purpose and shouldn't be used as a substitute for another unless the product in question is specifically labeled for multipurpose use.
Cleaning agents (solvents or degreasers) dissolve or loosen the gunk stuck to your firearm and make it easier to wipe away.
Lubricants are applied to clean weapons and help the moving parts glide past one another more smoothly, which increases the weapon's reliability.
Protectants coat the exposed metal surfaces of your firearm and help prevent rust and corrosion.
You'll need at least a cleaning agent and a lubricant. Protectants aren't always necessary, especially if your gun is mostly plastic or stainless steel, or if it has a permanent protective finish such as Cerakote. You may want to apply a protectant anyway if, for instance, you live near the ocean; the high salt content in the air can hasten the formation of rust.
Cleaning Tools
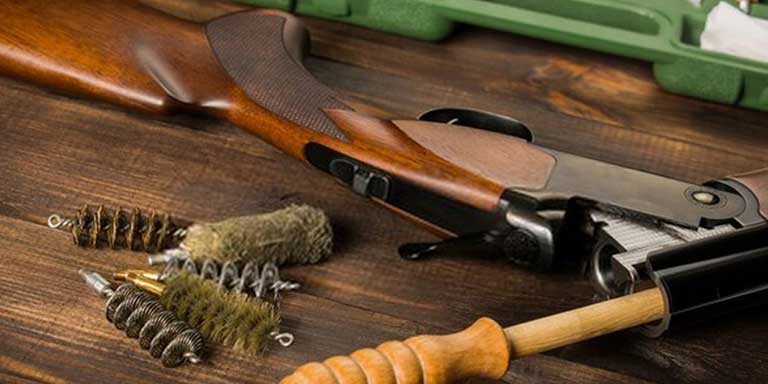
There are four main tools you'll use to clean your firearm: bore brushes or Boresnakes, standard brushes, cleaning patches or cloths, and extension rods. You can buy gun cleaning kits that contain all of these items or purchase them individually.
Bore brushes are stiff, wire brushes the exact diameter of your gun's barrel. They are sold by caliber, so be sure to choose the right sizes. A Boresnake is a cleaning cloth wrapped around a cord, sometimes paired with a regular bore brush. The cord is threaded through the barrel, then used to pull the cloth and brush all the way through.
Standard brushes or utility brushes come in a variety of shapes and sizes. Most designs resemble a toothbrush and have stiff metal bristles, softer nylon bristles, or both. They're great for cleaning large particles from most parts of your firearm.
Cleaning patches are small squares of fabric, usually cotton. After you loosen or remove the largest bits of residue with a brush, patches can be used to wipe away gunpowder and smaller particles. Alternatively, you can use a regular washcloth or shop rag for this purpose.
Extension rods hold cleaning patches and make it easier to clean hard-to-reach crevices.
Cleaning Methods and Best Practices
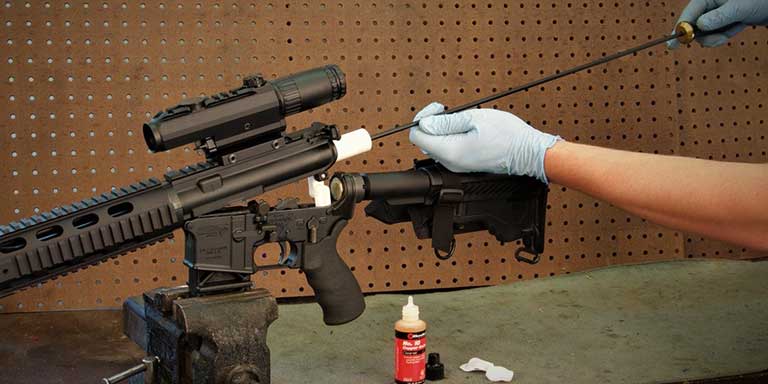
Once you've disassembled your firearm, you're ready to begin. First, use your bore brush or Boresnake (with an extension rod, if necessary) to firmly brush the inside of the barrel. Do this as many times as needed until you can no longer see dirt, carbon or gunpowder. Do the same to each other part with a utility brush, paying special attention to the trigger housing, breech, hammer, slide, bolt and cylinder, as applicable. Spray some solvent to make the scrubbing go easier if there is old carbon to get rid of.
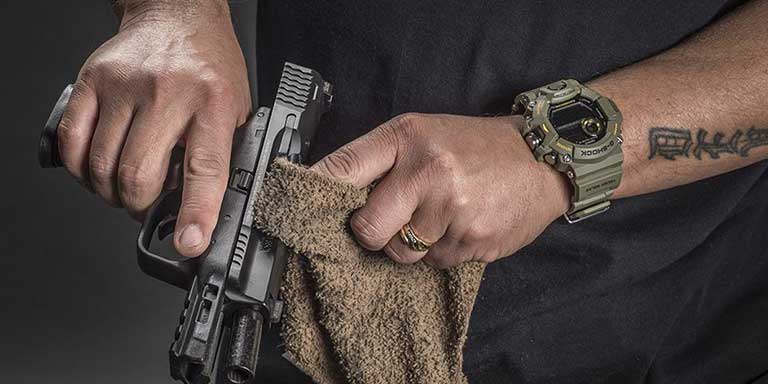
Next, moisten a patch or rag with solvent and wipe down all the exposed surfaces of each part. Continue until the cloth or patches no longer become obviously soiled. When you're satisfied that you've gotten everything clean, apply a light coat of lubricant to each surface that moves or rubs against something else. Too much lubricant can make the moving parts of your firearm sticky and thus more prone to attracting dirt and lint; your firearm will also cycle less smoothly.

On semi-automatic pistols, lubricate the entire bottom of the slide, the recoil spring and the topmost surfaces of the frame (those that contact the slide). Revolvers only need a very light coat of lubricant around the ejector rod and hammer. For rifles, lubricate the bolt, bolt carrier, and firing pin assembly. Most shotguns only need lubricant around the bolt. Refer to your owner's manual to see if your particular firearm needs lubricant anywhere else.
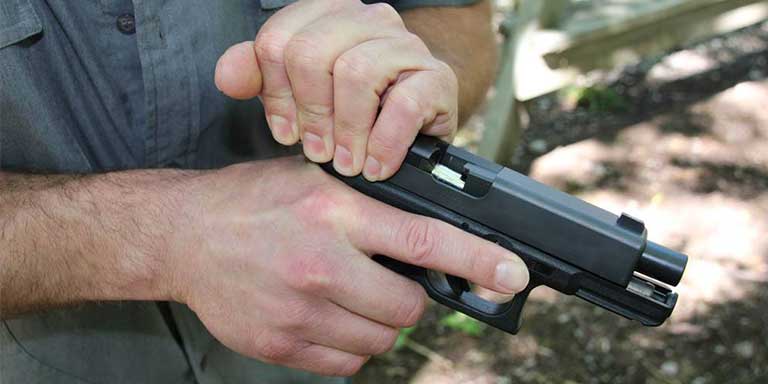
After applying lubricant, reassemble the firearm and work the action about ten times to spread the lubricant evenly. Perform a function test, which your owner's manual should describe. Finally, apply a thin coat of protectant to any exposed metal surfaces if needed.
Be sure to thoroughly wash your hands when you're done cleaning; gunpowder and carbon contain lead and other substances that can be harmful if absorbed through your skin. If you'll be storing your firearms for more than a month or so, consider putting a desiccant packet in the case to help ward off excess moisture.
Cleaning your guns thoroughly may not be as fun as shooting them, but it's the only way to keep them functioning safely and reliably. Regular cleaning will also extend any firearm's lifespan and increase its resale value. Your firearms are arguably some of the most important tools you'll ever own. They can put food on the table or defend your life, family, and property, so they deserve meticulous care.
Did you find this article helpful?
Related Articles
-

Second Amendment Sanctuary Reviewed: Every U.S. State and County
We cover the basics of Second Amendment sanctuary and detail the sanctuary status of every state and county, nationwide.
Regulations
157 others found this helpful -
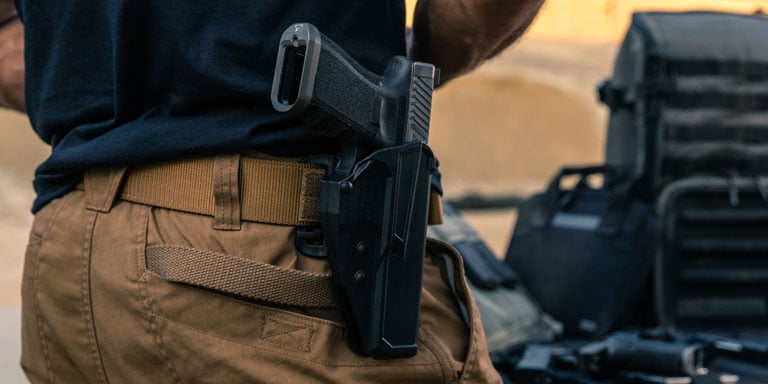
How to Choose a Gun Holster
Choosing a holster is no easy task. From retention methods to material, we'll help you find the right one for your gun.
Buyer's Guides
127 others found this helpful -
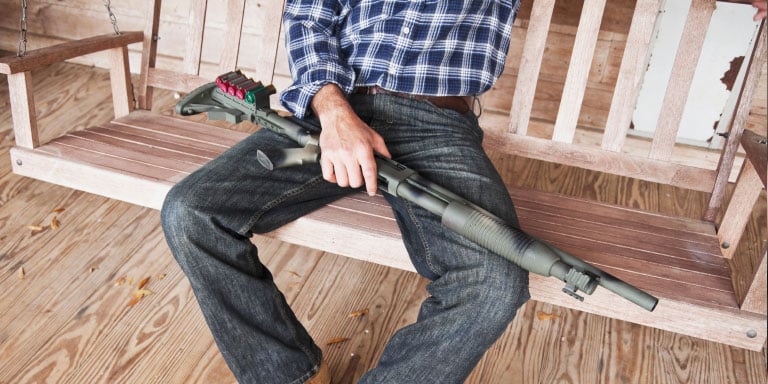
Why You Should Use a Shotgun for Home Defense
Looking for the perfect home defense weapon? Here’s our case for picking a shotgun as your weapon of choice.
124 others found this helpful -
Handgun Basics: Identifying parts and functions
Get a better understanding of handguns by learning to identify parts and functions both revolvers and semi-automatics.
111 others found this helpful -
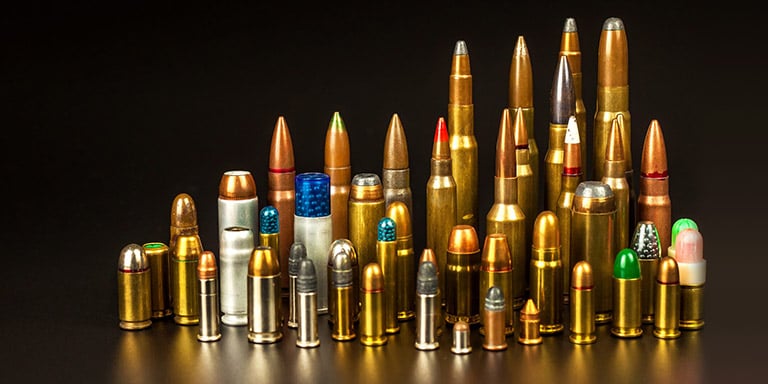
Ammo 101
Choosing ammo can be overwhelming, so we laid out the basics regarding the most common types of ammunition available.
Buyer's Guides
95 others found this helpful -

Shotgun Basics: Identifying parts and functions
This guide will help you identify the parts and functions of single-barrel, double-barrel, pump-action and semi-automatic shotguns.
76 others found this helpful